This post has been long in the making. I have been crafting up a storm, but haven’t had the chance to share them all with you. It’s still officially spring, whether you believe it or not, and summer is really not too far off, although we’ve had temperatures that have led us to think that it’s already summer. With the commencement of spring, I’ve been thinking of ways to make my deck look a lot better than it does now. While I have rose bushes and lilies in my garden, however, my deck is rather bare.
I decided that the way to spruce it up was to introduce some flowers, and why not? After all, flowers do make everything look better. However, I was going to need some pots, and this was going to be a mother-daughter endeavor. We decided to head to Lowes to not only get our flowers but also to get some pots. What we found, however, were the usual ugly looking terracotta pots. That nasty brown color was sure not going to make my deck look pretty, no matter how beautiful my flowers were, so I decided on doing something to spruce them up. I had purchased some fabric at JoAnn’s to make both our Shopkins coasters and comic book coasters, and I had some extra material lying around. So what’s a girl to do? Well, I decided on making fabric covered terracotta pots. After all, the pretty fabric does make everything look better too.

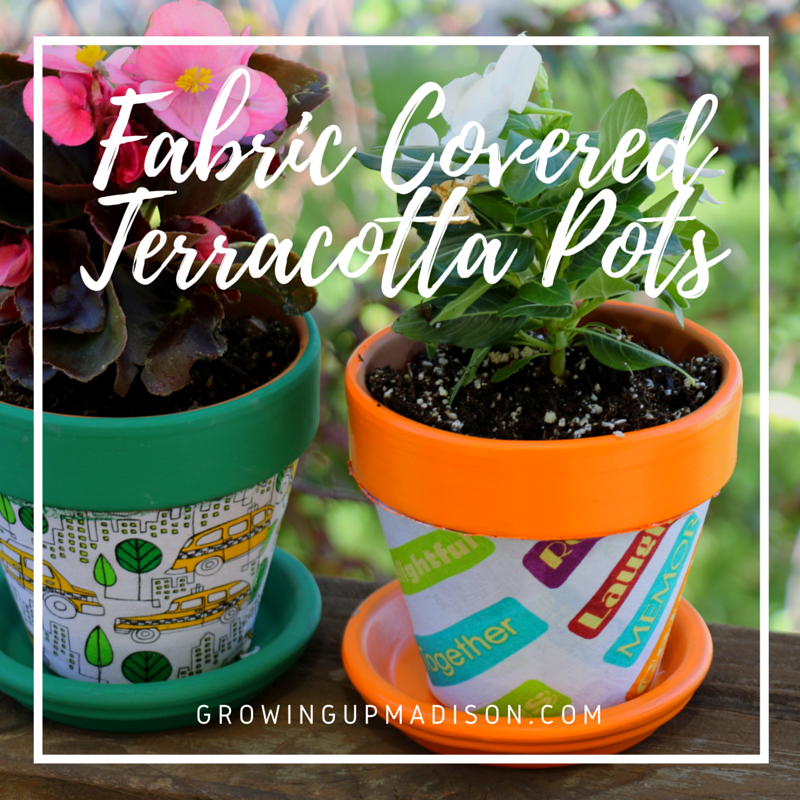
Fabric Covered Terracotta Pots
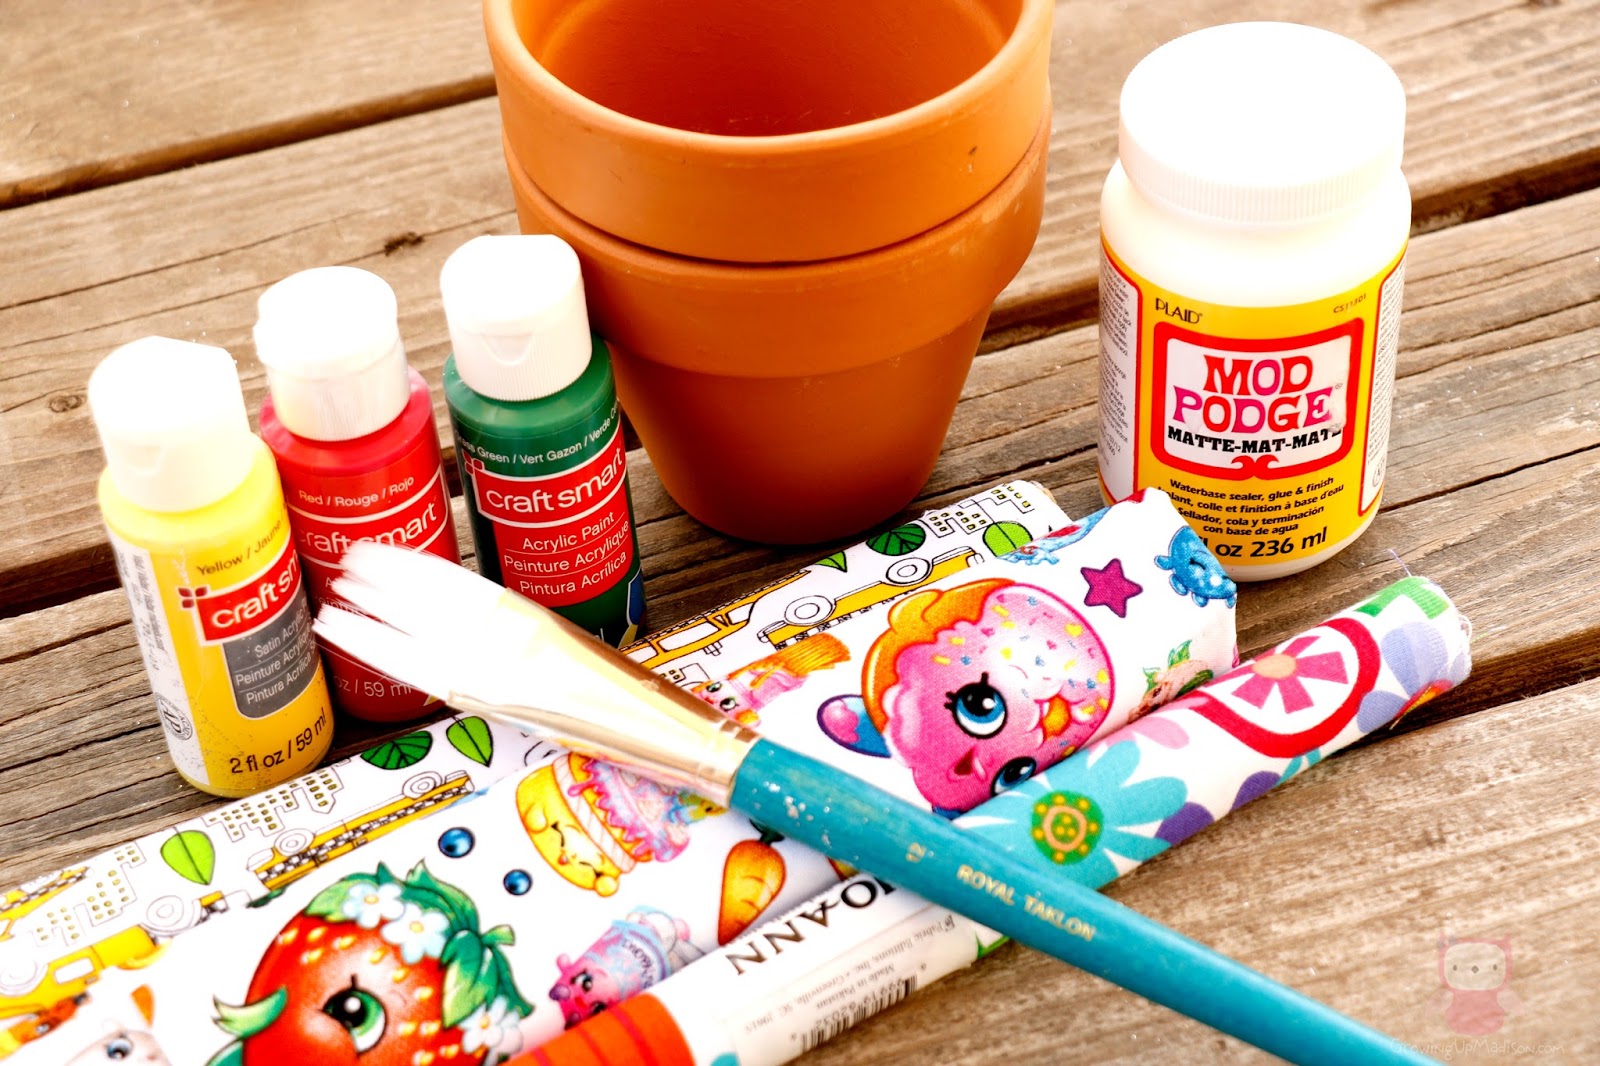
Materials Needed:
Terracotta Pots
Paint
Paint Brush
Fabric of Choice
Mod Podge
Scissors
Terracotta Saucers *optional*

You can get all of your supplies at your local JoAnn‘s, but I ended up getting my terracotta pots and the saucers at my local Lowes when I went to get my flowers. They were also a lot cheaper there as well.
Step 1: – Measure out your fabric. The way I did, it was to wrap it around the terracotta pot and cut slightly more than needed.
Step 2: – Start by applying mod podge to your terracotta pot. Use a small brush and apply sparingly.

Step 3: – Next, wrap your pre-cut fabric around your terracotta pot. This may take a few tries before getting it perfect. The very first one I did, bunched up quite a bit, but I learned a little trick. Start at the top of the pot and slant the fabric while wrapping. This seemed to do the trick! Next, use your scissors to trim the edges.

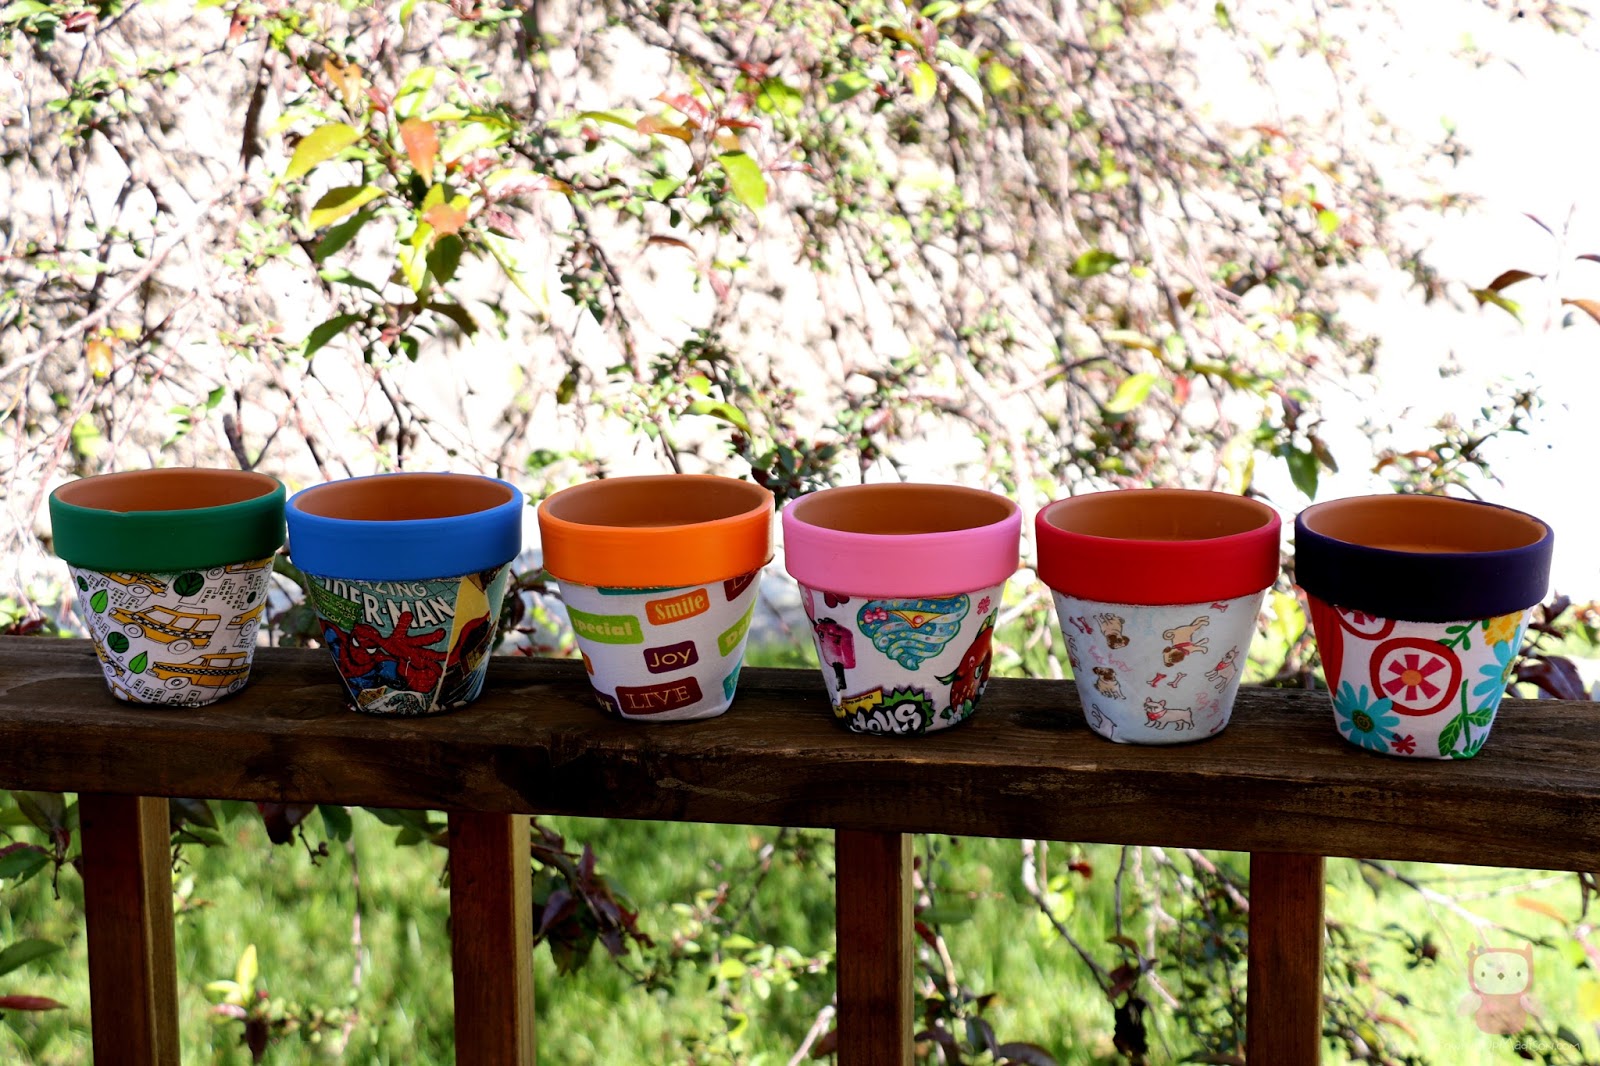
Step 4: – Now, while you can certainly keep your terracotta pots this way, this is where the paint came in. I decided to paint the top of my pots in different colors to match my fabric. Bright colors looked better.

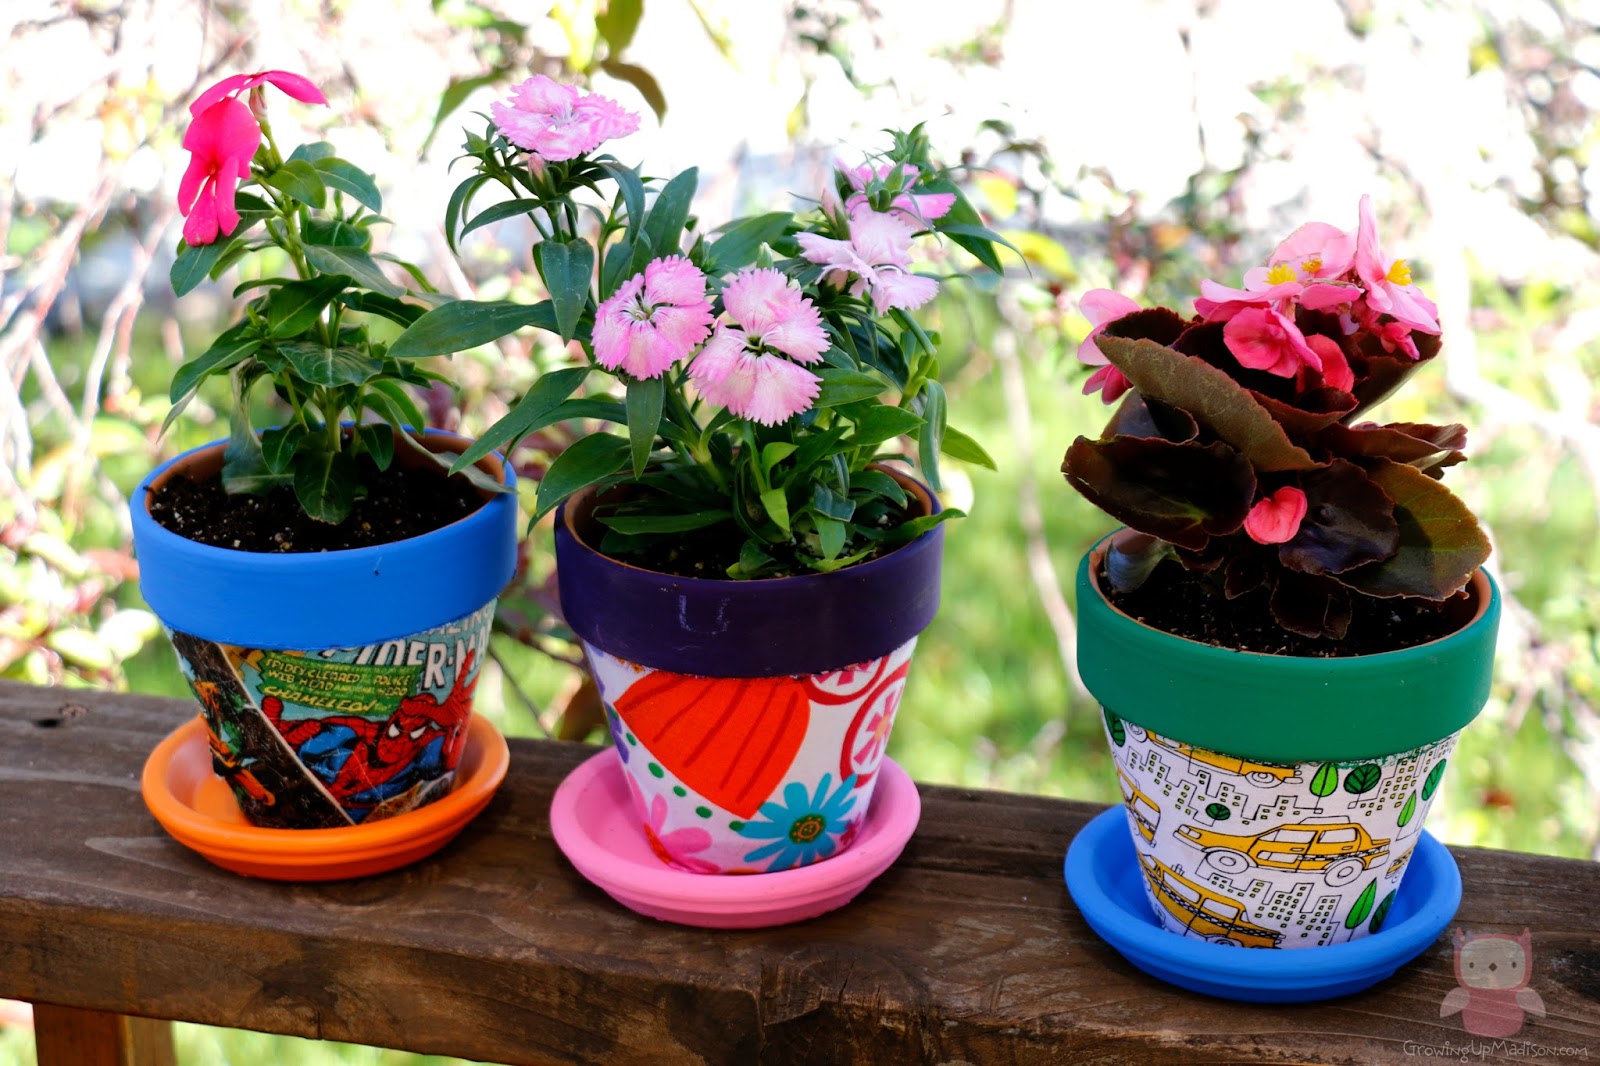
Step 5: – While this step is entirely optional, I love the way terracotta pots look with their matching saucers, so I bought some while at Lowes. I then painted them the same color to match the pots. You can mix and match the saucers or keep them with their matching partner.

Step 6: – Add your dirt and flower and voila! You’re done! Easy peasy.

Now that you’ve seen how easy it is to decorate those ugly brown terracotta pots, I hope you’ll do some of your own. Don’t forget to water your plants!
Let’s discuss: How do you decorate your outdoors in the spring?
