
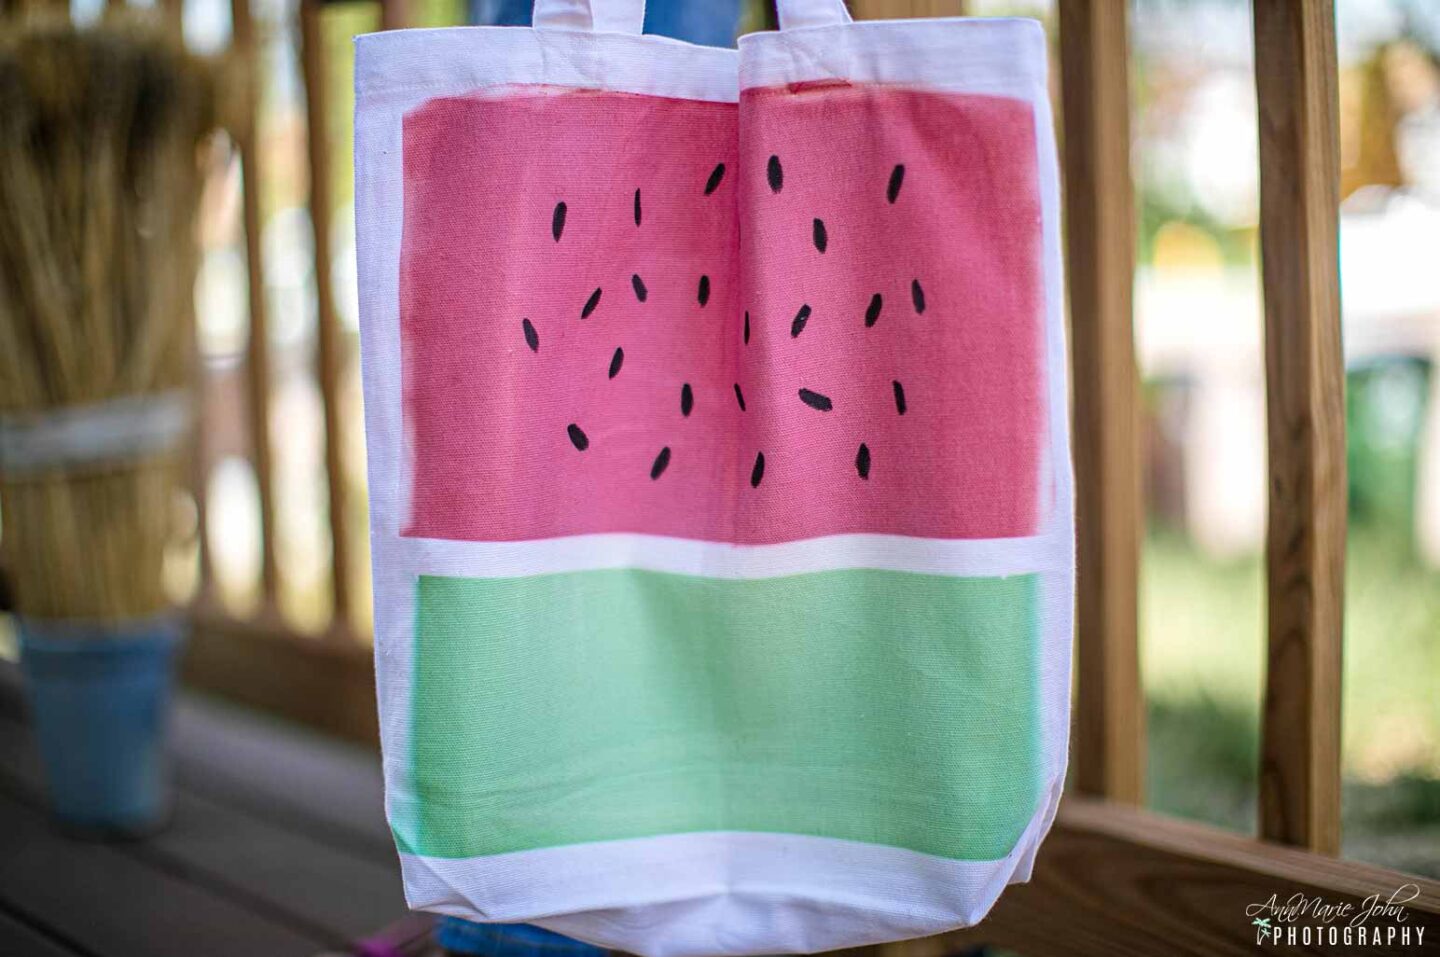
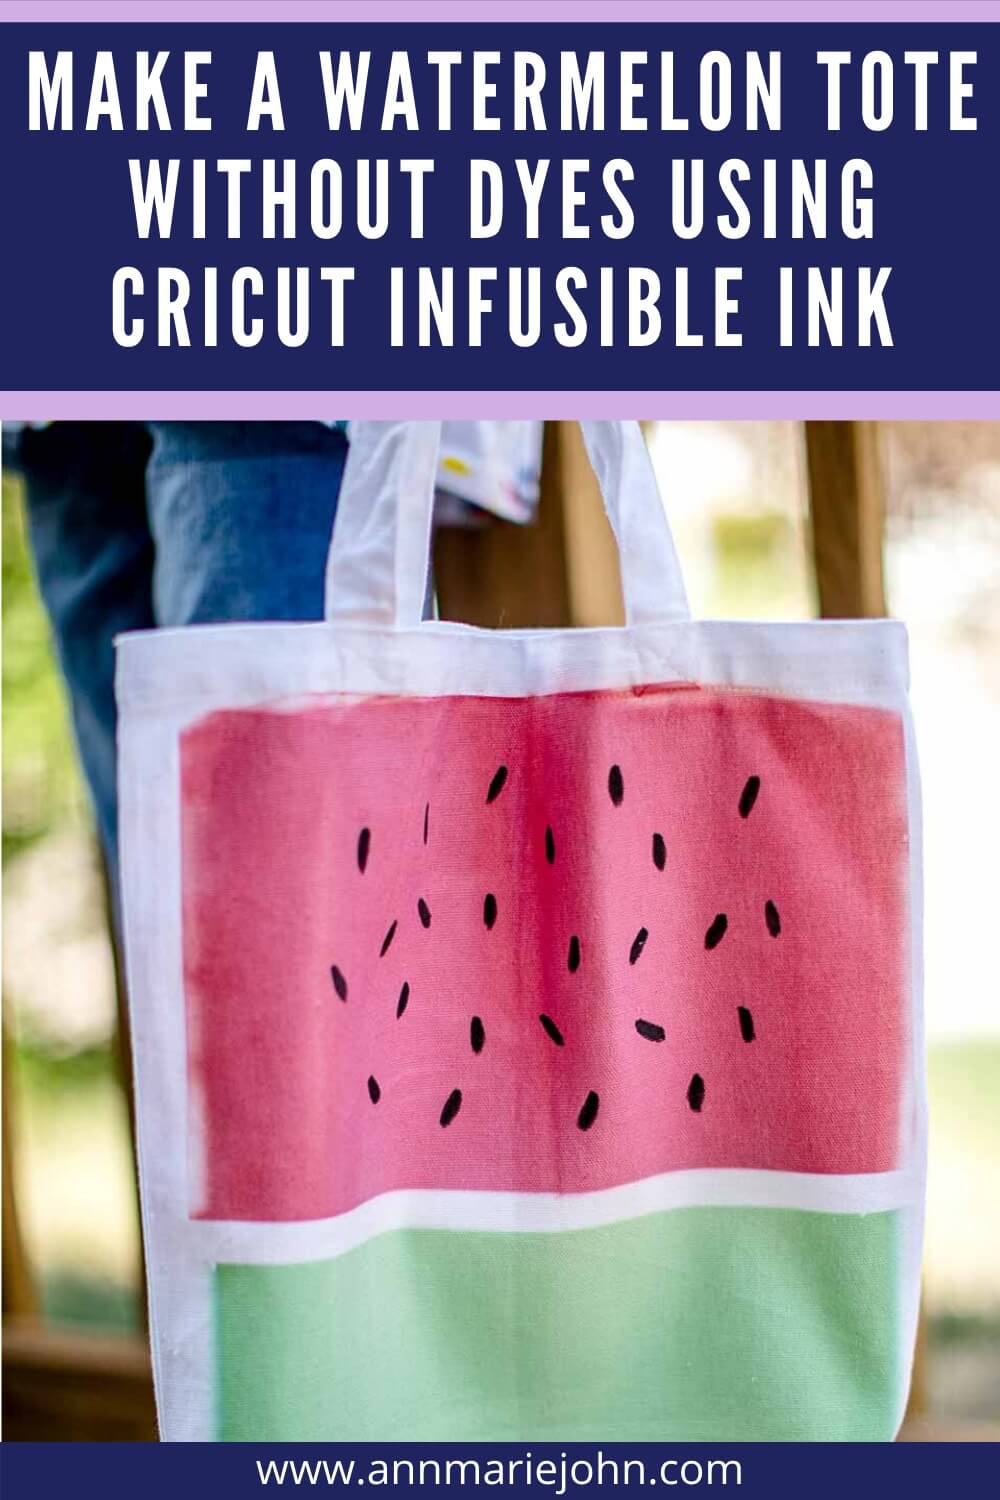
Learn how you can recreate this watermelon tote with no dyes. That means no dipping and getting your hands dirty at all. All you need are Cricut Infusible Ink Transfer Sheets and Infusible Ink Markers. No Cricut machines are required, but a Cricut EasyPress is recommended.
Summer is fast approaching, and watermelons are in! As a matter of fact, I was just as Costco, where we purchased a huge watermelon because my kid insisted. However, I digress. I was browsing on Amazon and saw the cutest watermelon tote bag, but the crafter in me started thinking, “I could make that myself.” I googled, and surprisingly, there were a few ideas on how to get it done, but they all required using dip dyes. I’m not a fan of dyes.
I recently did tie-dye shirts with my youngest Madison, and by the time we were finished, my hands were also dyed. However, I was able to make this beautiful tie-dye tote without the mess.
It’s then that I remembered my Cricut Infusible Ink Transfer Sheets. With a simple placement, I could make a watermelon tote that was exclusive to me. So I grabbed my supplies and got started.
If you’re wondering if you’ll need a Cricut Explore Air 2 or Cricut Maker, I can guarantee that you don’t, but I do suggest having the Cricut EasyPress as it does make your transfer so much easier. However, if you don’t have an EasyPress, then you can use an iron, but I can’t guarantee the same results.
This tote is washable and will last through hundreds of washes.
Here’s what you’ll need:
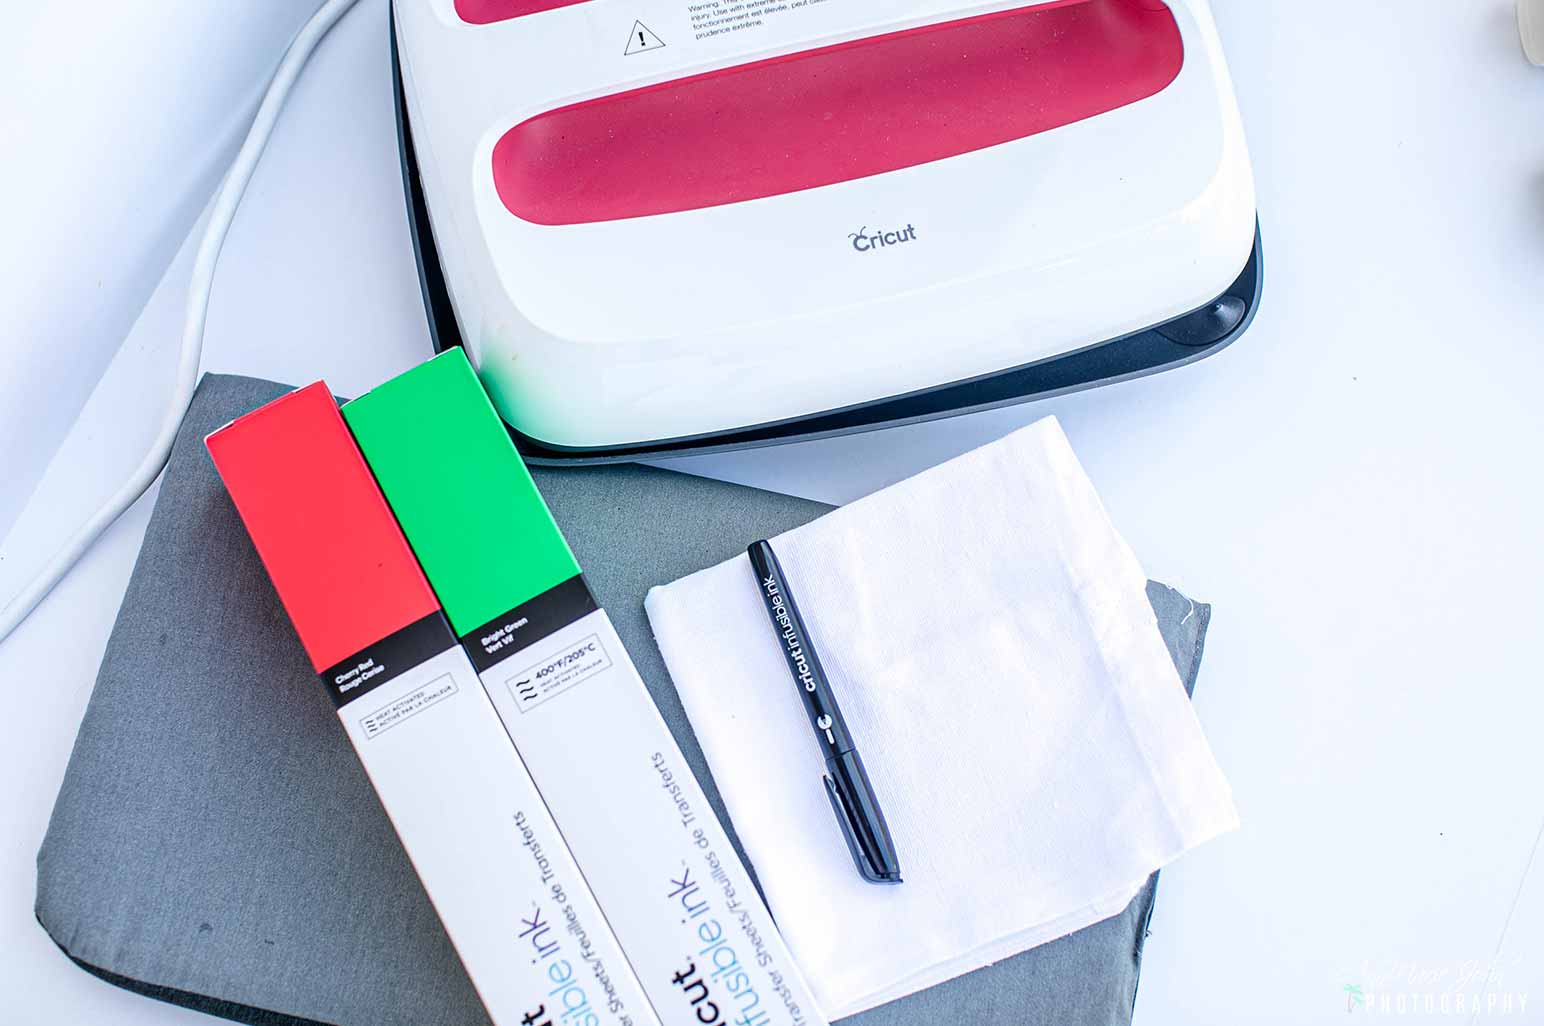
SUPPLIES
- Cricut Infusible Ink Transfer Sheets in Cherry Red and Bright Green
- Infusible Ink Marker – Black
- White Canvas Tote (I picked up mine at Walmart)
- Paper Trimmer or Scissors
- Cardstock
- Butcher Paper
DIRECTIONS
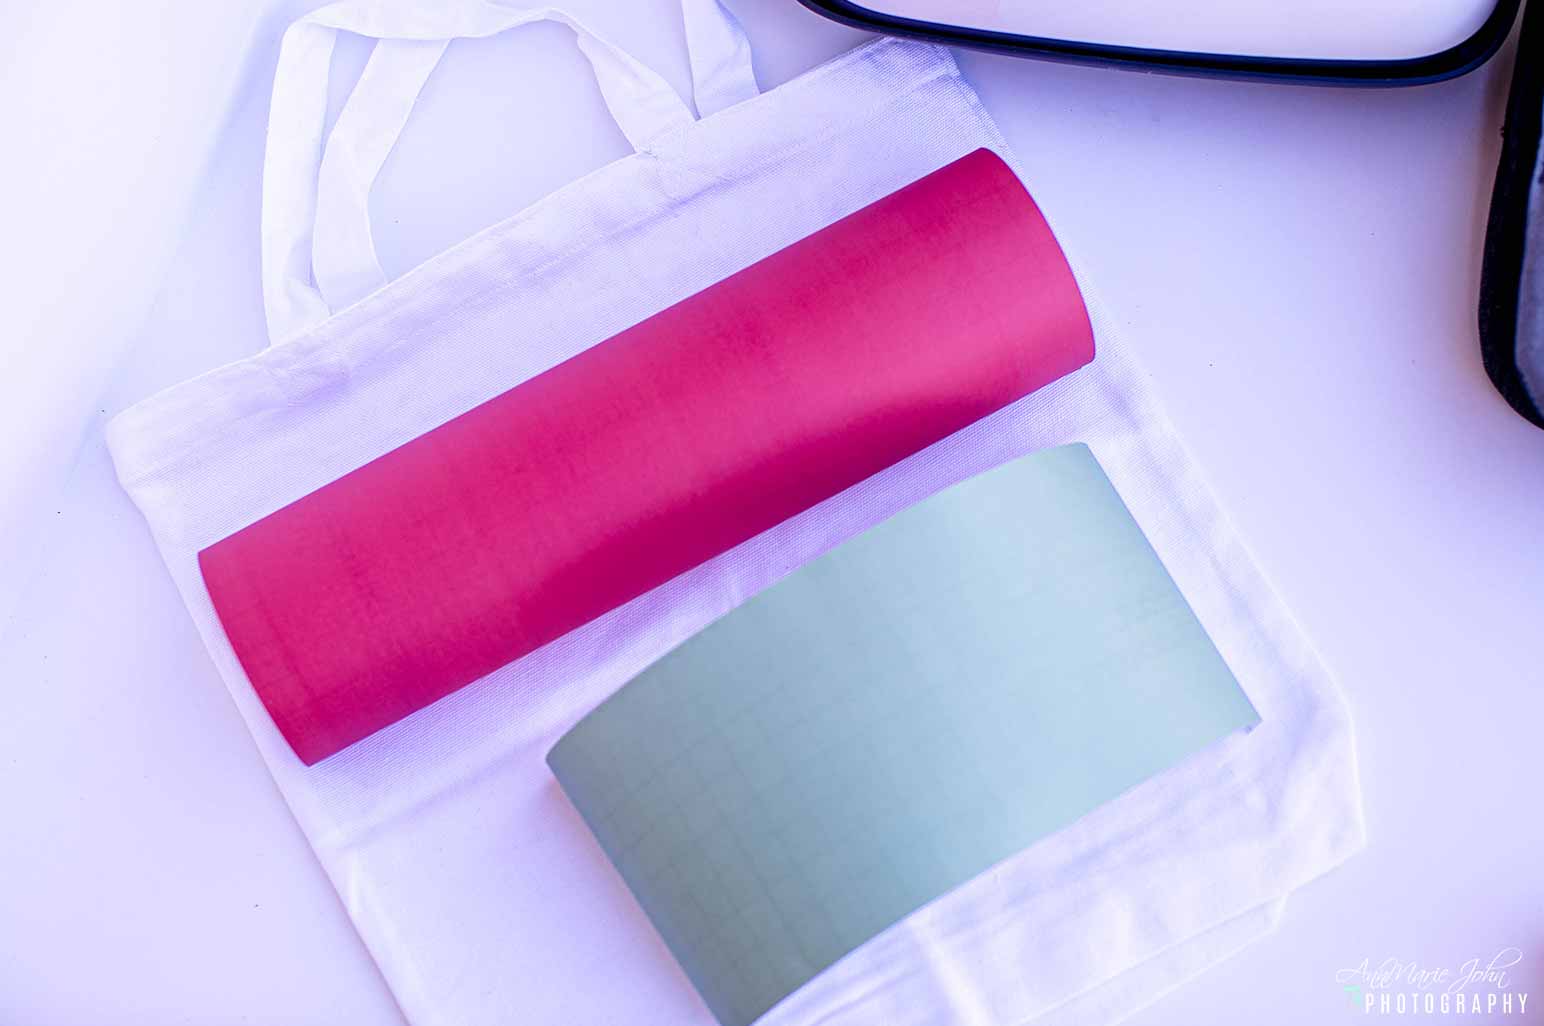
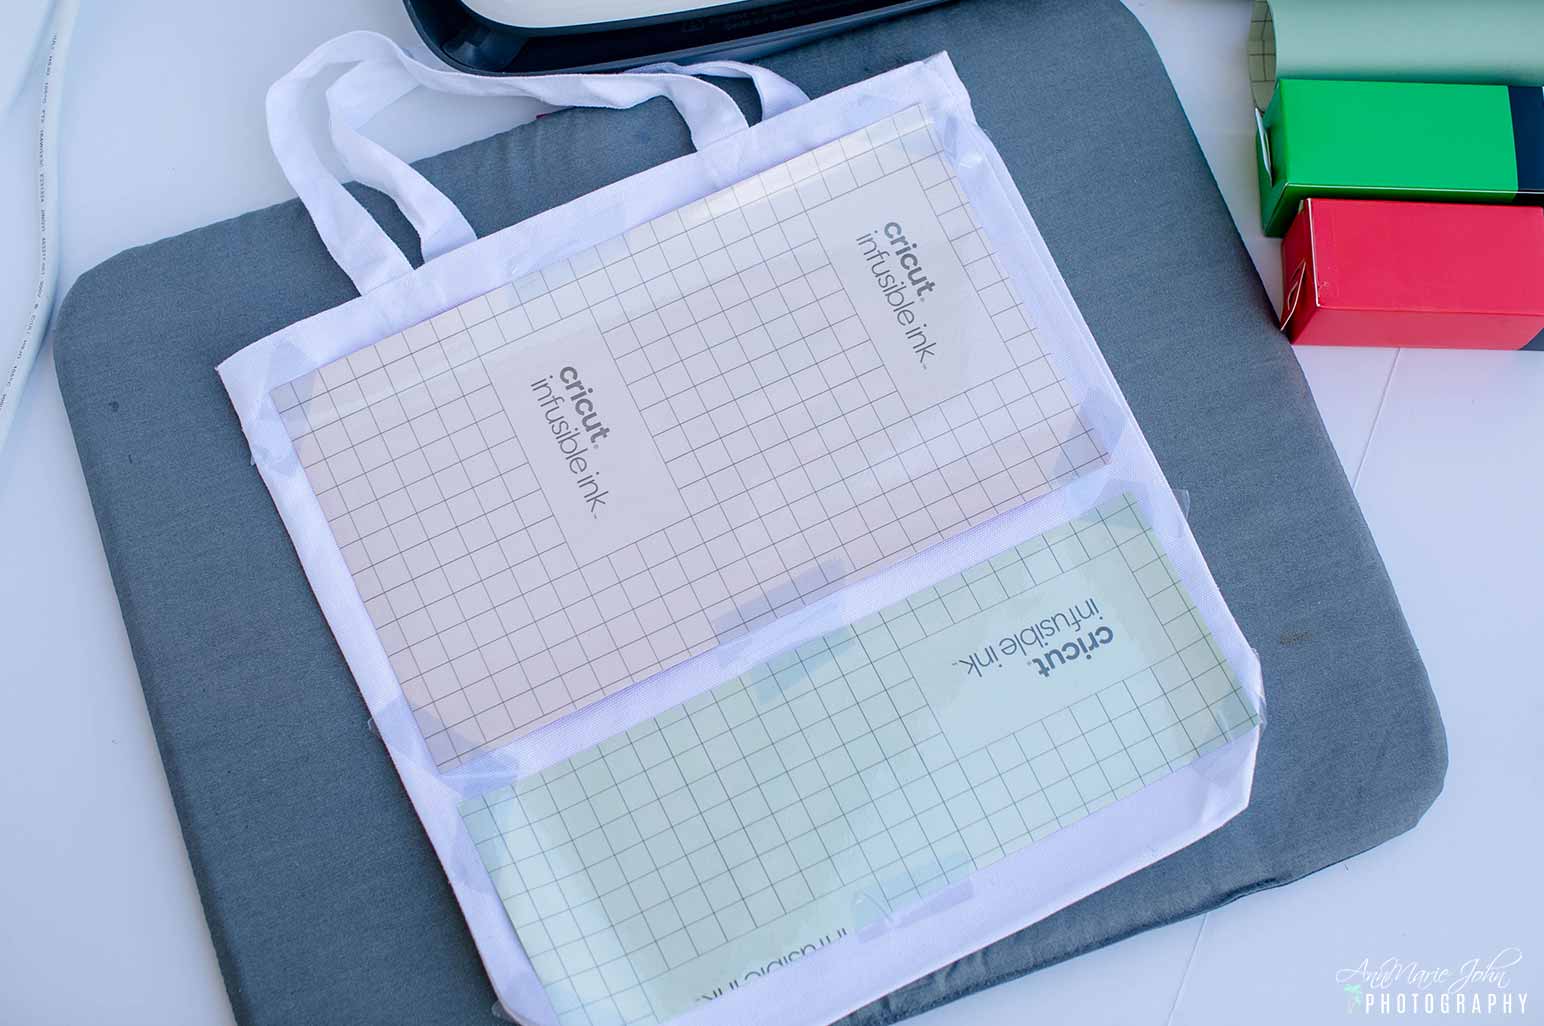
STEP 1: Begin by lining up your infusible ink transfer sheet on your tote. It’ll give you an idea of where you need to cut your sheet. Since my tote was reasonably small, I decided to cut my green sheet 4″ in length and my red sheet 8″ as I wanted more red than green. However, you can cut it evenly or more or less. The preference is yours. Remember, this tote is going to be uniquely yours.
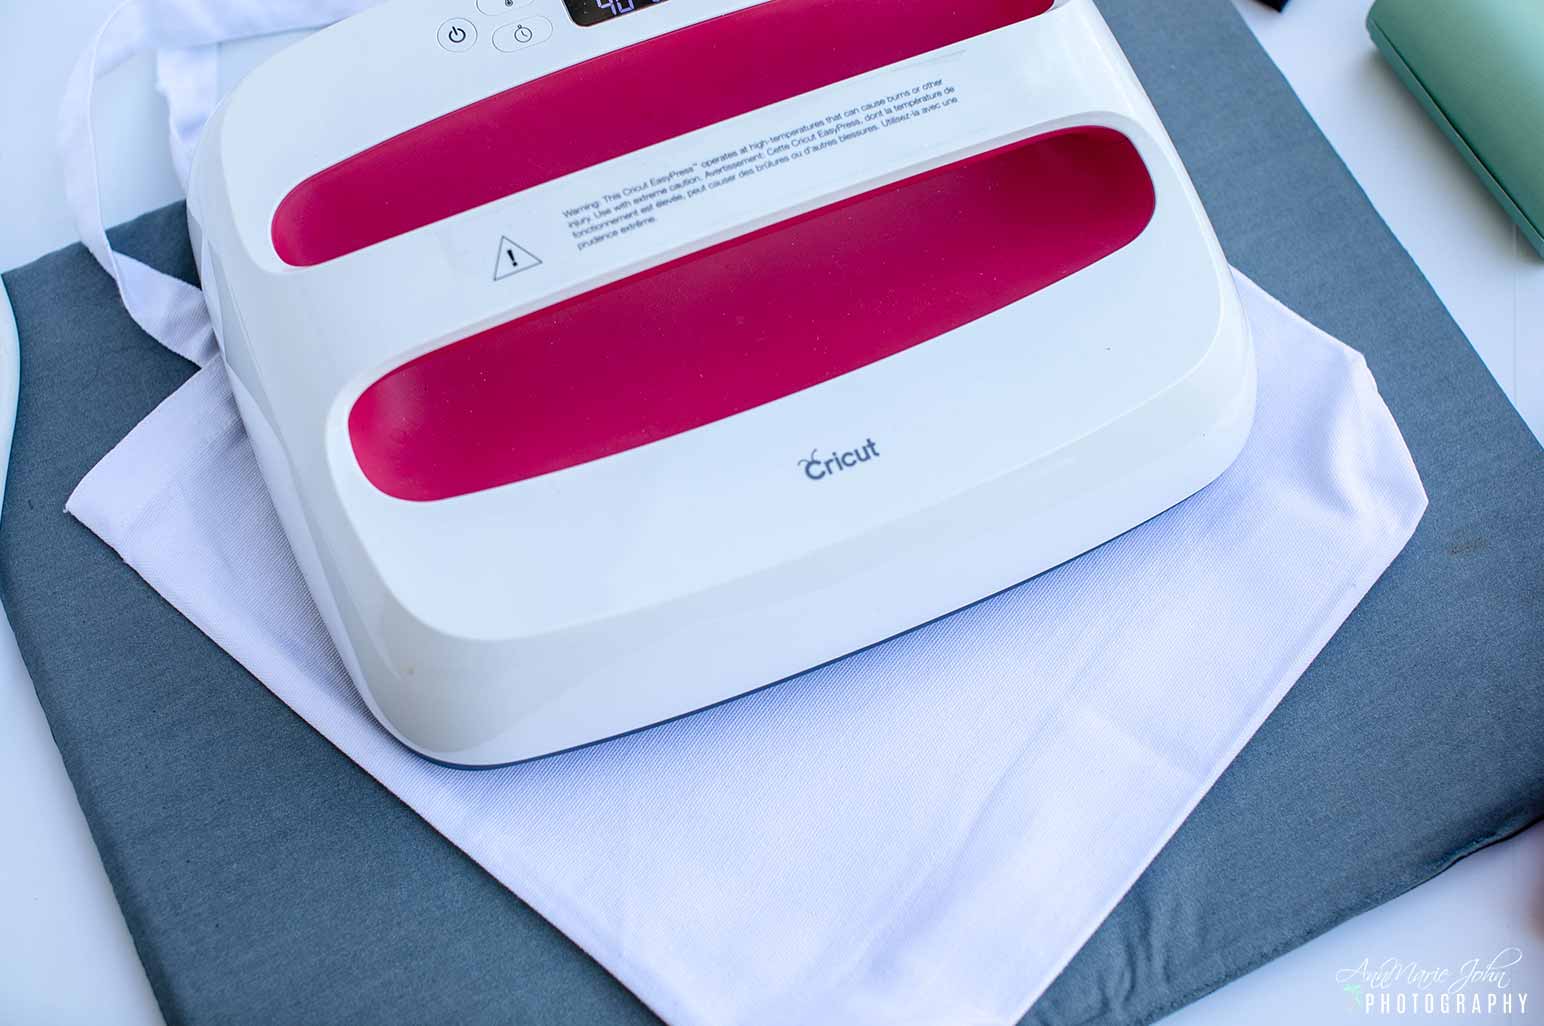
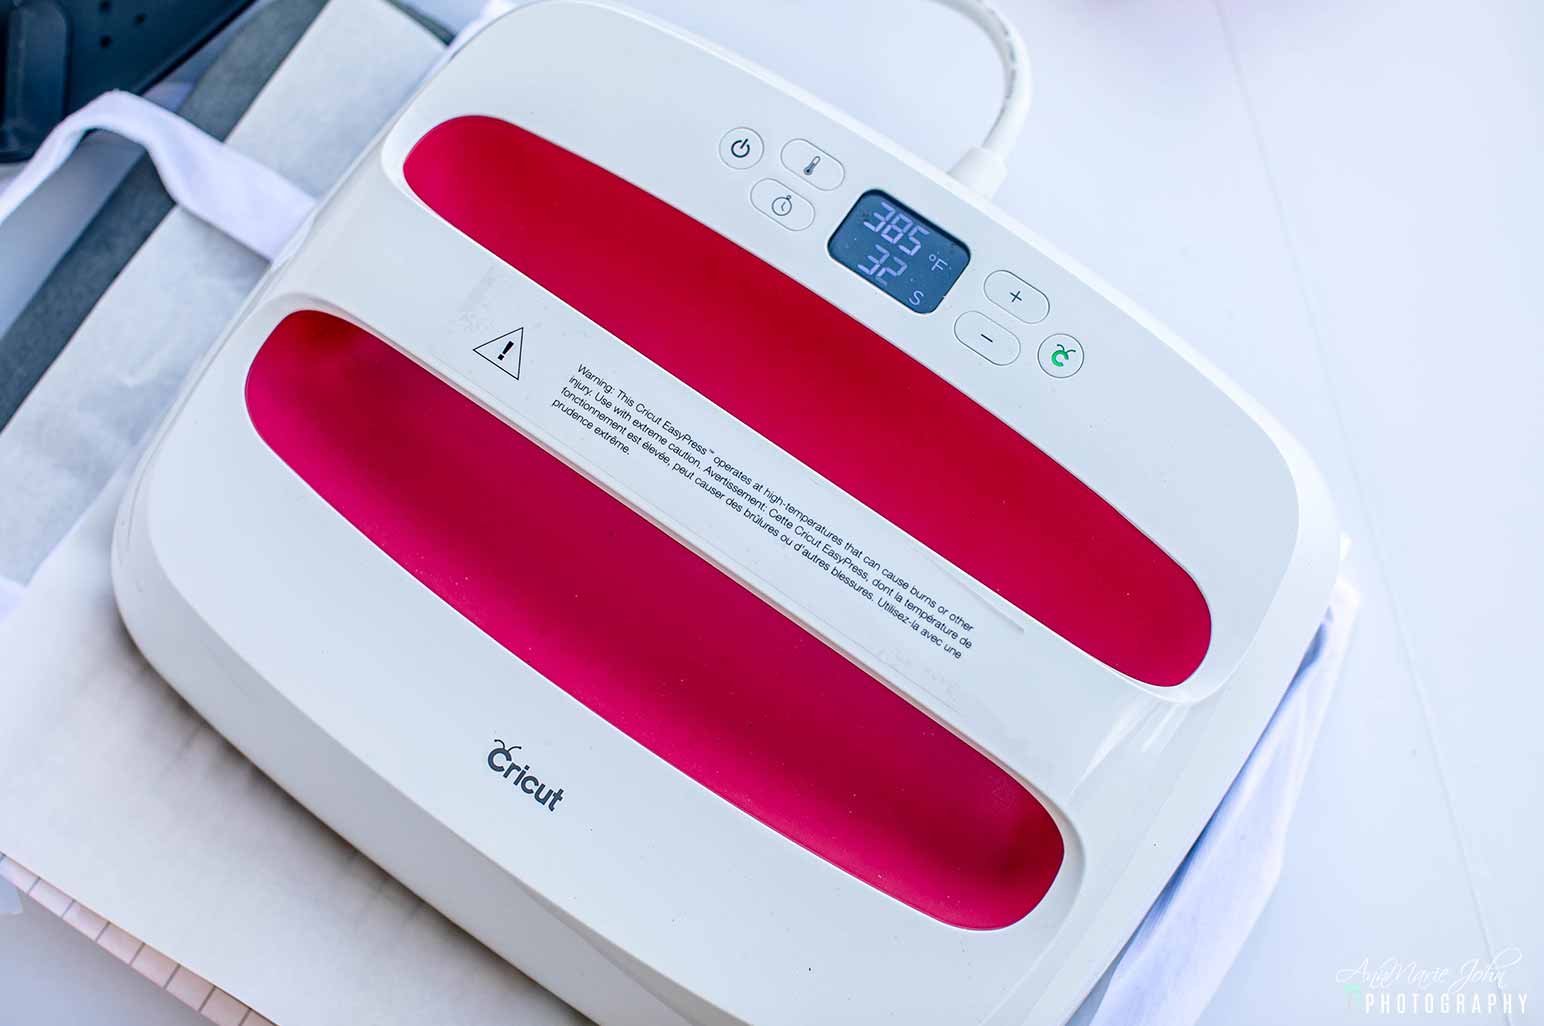
STEP 2: Iron out the wrinkles on your tote using the Cricut EasyPress. If you don’t have an EasyPress, you can iron out the wrinkles with an iron. I heated up my EasyPress to 385° and pressed it for about 15 seconds on each side.
STEP 3: Once the wrinkles are gone, line up your Infusible Ink Transfer Sheet, colored side down, on your tote, leaving about a 1″ space between them. Tape it to your tote with the Cricut Heat Resistant Tape.
STEP 4: Place your EasyPress Mat on the inside of your tote with cardstock on top of the mat to prevent bleedthrough, and place butcher paper on top of the infusible ink transfer sheet. With your EasyPress set to the desired temperature, (use the Cricut EasyPress Heath Guide if unsure), press your infusible ink transfer sheet to your tote. You may need to do it in sections to get the desired results.
STEP 5: Allow to cool and then slowly remove the butcher paper and the infusible ink transfer sheet from the tote.

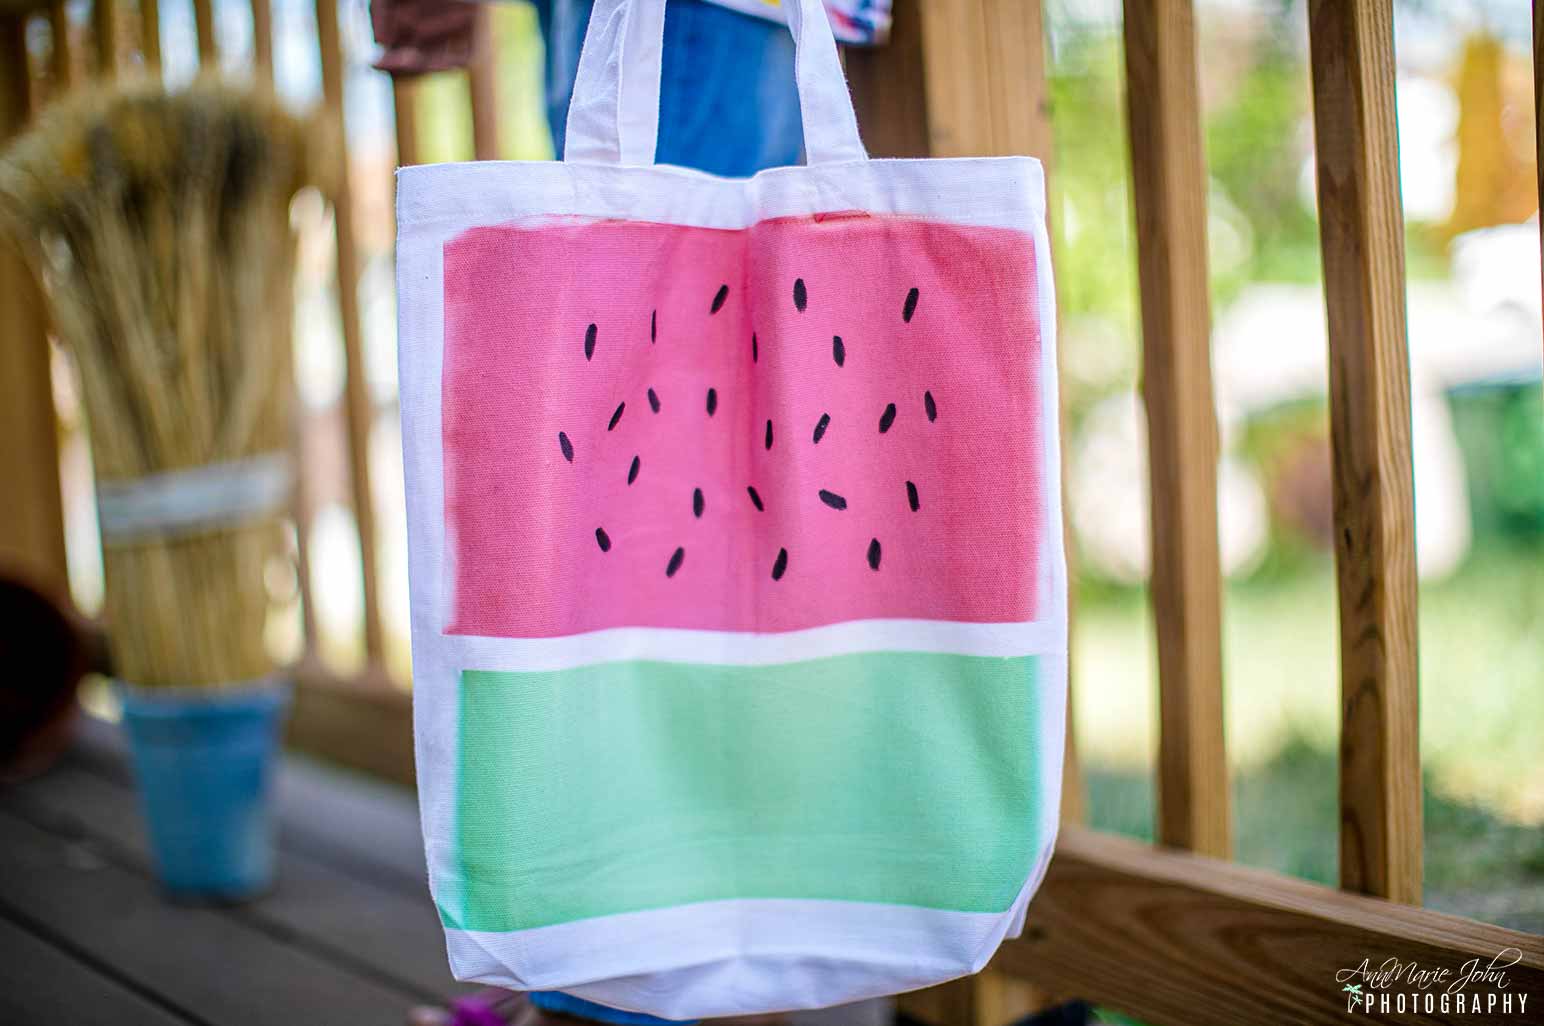
STEP 6: Grab your infusible ink marker and draw some “watermelon seeds” on the red design of your tote bag. They don’t have to be perfect, because mine isn’t, but they sure do look like seeds. 😊

That’s it! Your watermelon tote is now complete. Give it as a gift or keep it for yourself, and pack it with your favorite summer essentials for a trip to the beach or even a trip to the store.
PIN THIS POST TO YOUR FAVORITE PINTEREST BOARD


