
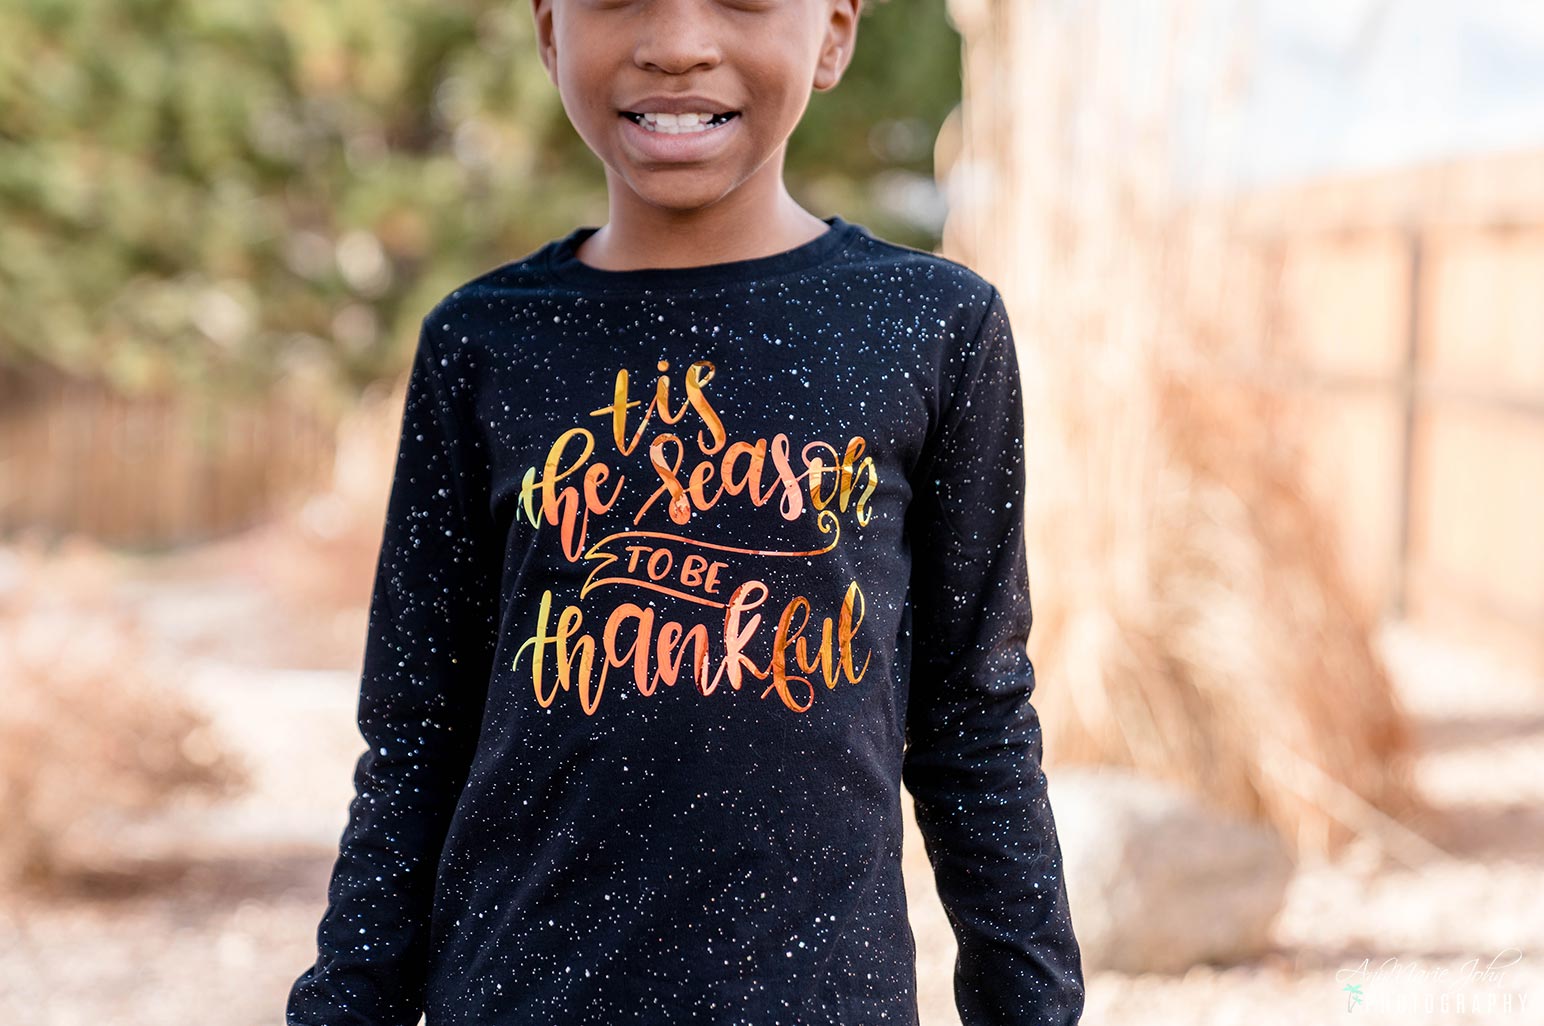
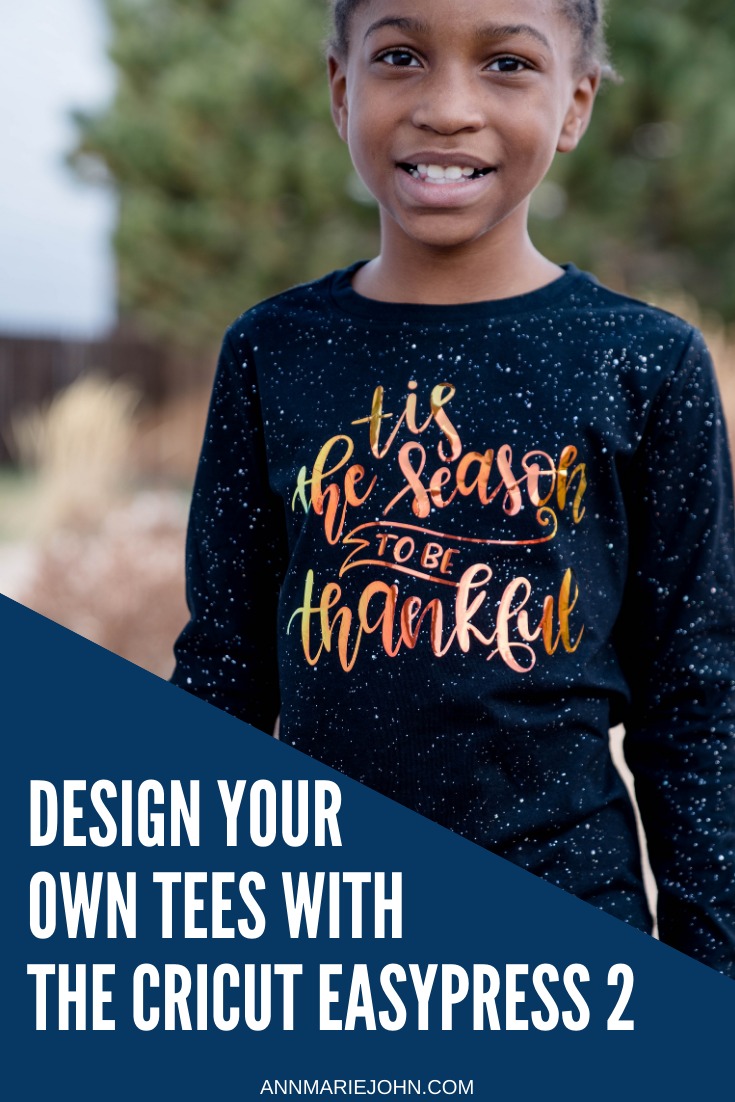
If there’s one thing I enjoy doing, it’s creating my own designs. Whether that’s home decor or clothing, there’s nothing more exciting than making one-of-a-kind items, either for yourself or as a gift. Today I want to share how you can create your own t-shirt designs with the Cricut EasyPress 2.
With Thanksgiving fast approaching, I’ve been looking for a simple t-shirt for Madison for the Thanksgiving holiday. Can you believe that I searched almost every store in my area and couldn’t find a single t-shirt? It seems as though Christmas took over before Halloween even began, as that’s all that was available in stores.
Now I love creating my own crafts and designing printables that I can hang around my home. Unique, one-of-a-kind items and had done a few t-shirts for the kids when they celebrated birthdays, went on trips, etc., but always the old-fashioned way, with an iron. They generally turned out OK, but it was a hassle to get them done, and you had to be wary of the iron as well.
Well, Cricut has made it extra easy with the EasyPress 2, and there are many benefits to owning one. Here are my five main reasons for loving my Cricut EasyPress 2 and why I would never go back to using an iron.
- You’re able to set the exact temperature that you need for the material that you’re using with the heat guide so you can’t go wrong, and all you need is a bit of gentle pressure.
- The EasyPress 2 plates heat evenly and enable my design to stick a lot more quickly and much better than my regular iron did before.
- The included timer allows your design to be done correctly each and every time. Now you no longer have to worry that you’re not heating it “long enough,” and the beep alerts you when it’s done.
- While the iron worked at times, it didn’t work every time because my iron sometimes created steam, which did not help and sometimes ruined my design transfer, I also had to be more careful that I didn’t burn myself.
- It is portable, convenient, and easy to store, and the auto shut-off feature is a lifesaver for that forgetful person like me who sometimes has so many things going on at once that I’m likely to forget to turn it off.
Since owning the Cricut EasyPress 2, I’ve been able to make my own t-shirts and plan on doing so much more. If you’ve always wanted to make your own t-shirts as well or have an idea of a tee that you’d love to own, then I’d recommend purchasing a Cricut EasyPress 2 along with the Cricut Explore Air 2 to make your creation a reality, such as the two that I made for Madison for Thanksgiving.
SUPPLIES NEEDED:
Cricut Iron-On in Gold Glitter
Cricut Iron-on in Holographic Red
Cricut EasyPress 2
Cricut EasyPress Mat
Cricut Grip Mat
Weeding Tool
Solid Colored Tees (We decided on getting them with sparkles)
DIRECTIONS:
(Each tee was made almost the same, with the exception that one shown in the very first photo was my very own design, while the other can be found in the Cricut Design Space. (For the one that I created on my own, I’m sharing how it was done below.)
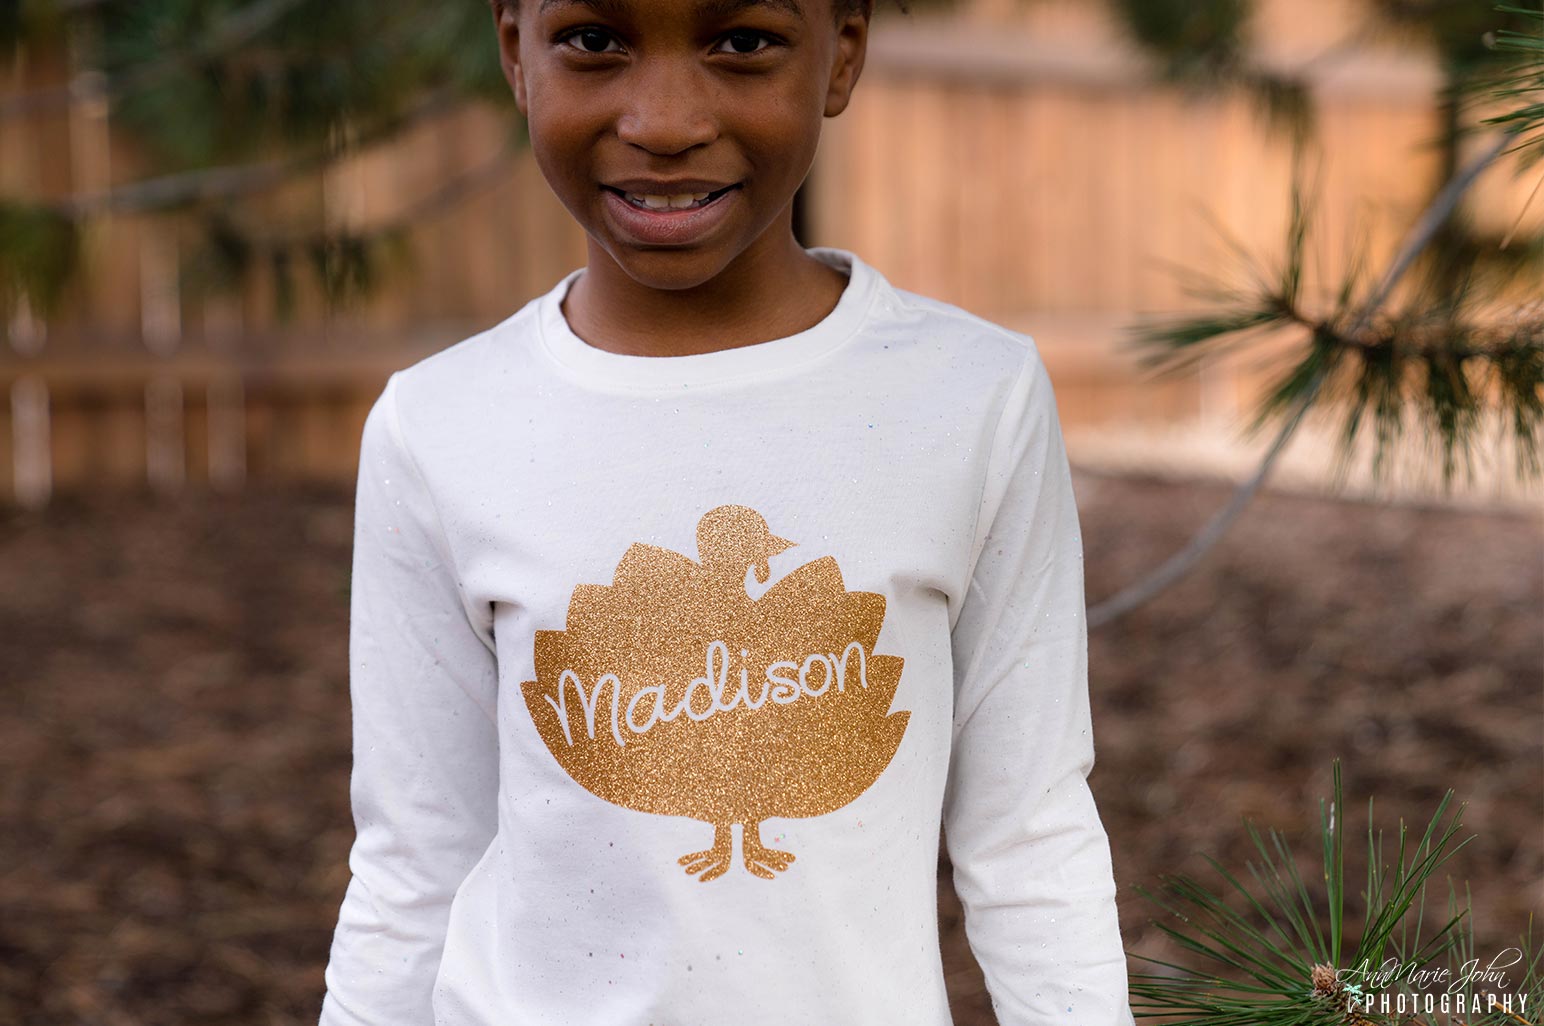
1. Open Cricut Design Space and find the turkey of your choice. If you’re thinking of doing the turkey name tee that Madison is wearing, then you’ll want a turkey image that is one dimensional. For the one that we used, you can check out my project here.
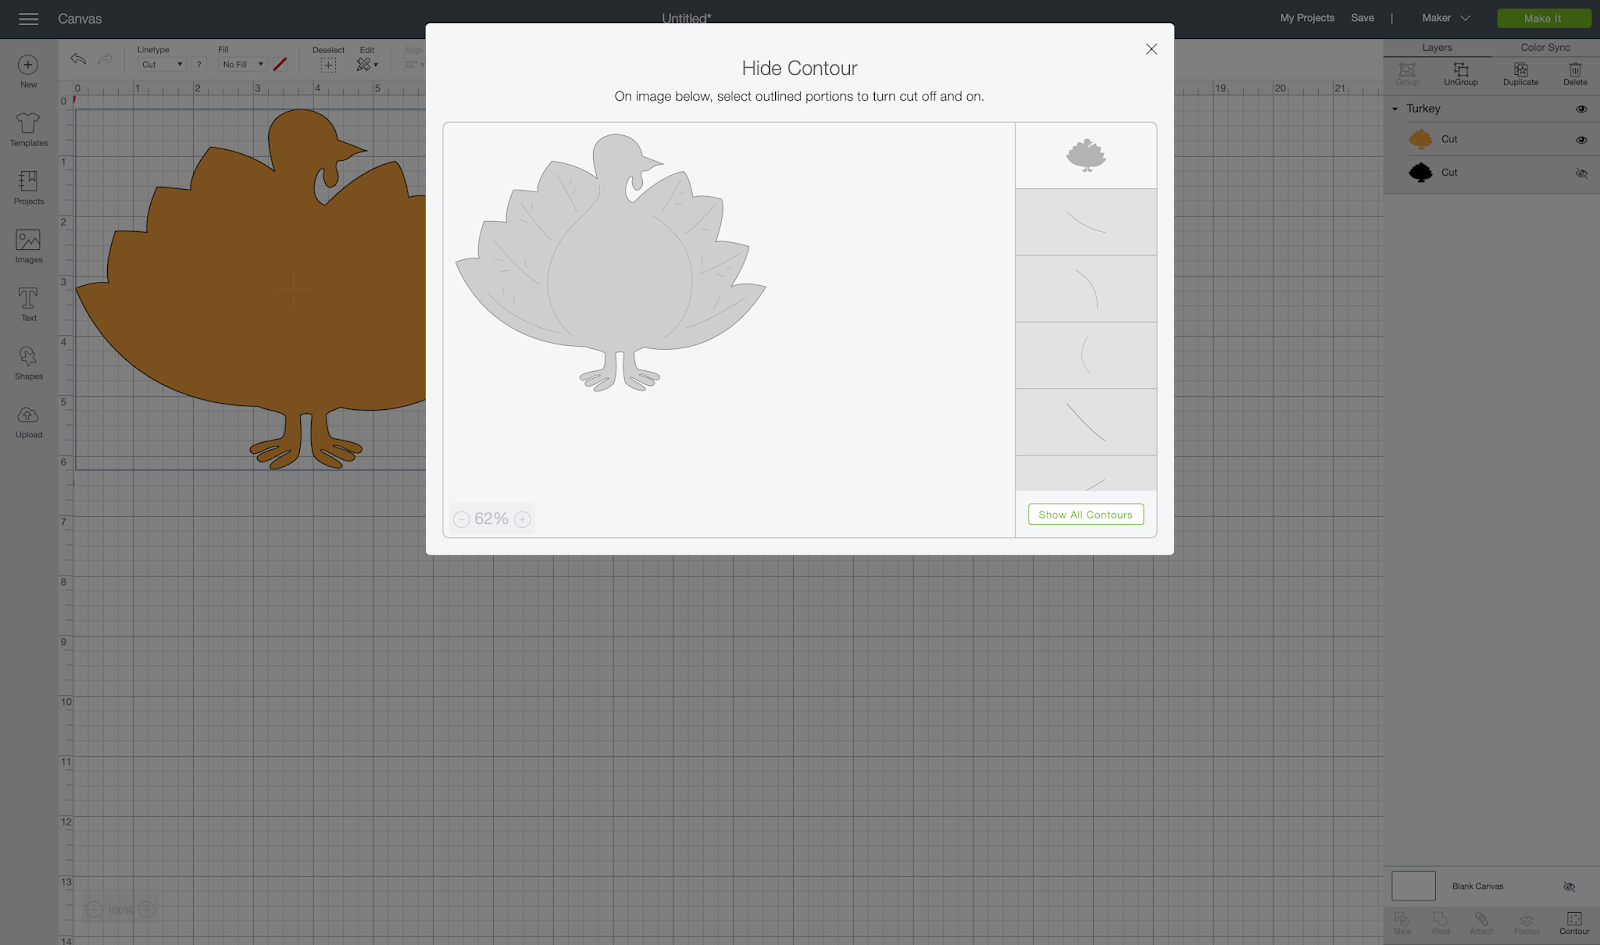
2. Select the turkey and click the contour in the bottom right corner. Hide all contour lines within the turkey.
3. Type the name, choose a font of your choice, and place it inside the turkey to your liking.
4. Select the turkey and text layers, select slice, and hide all layers but the turkey.
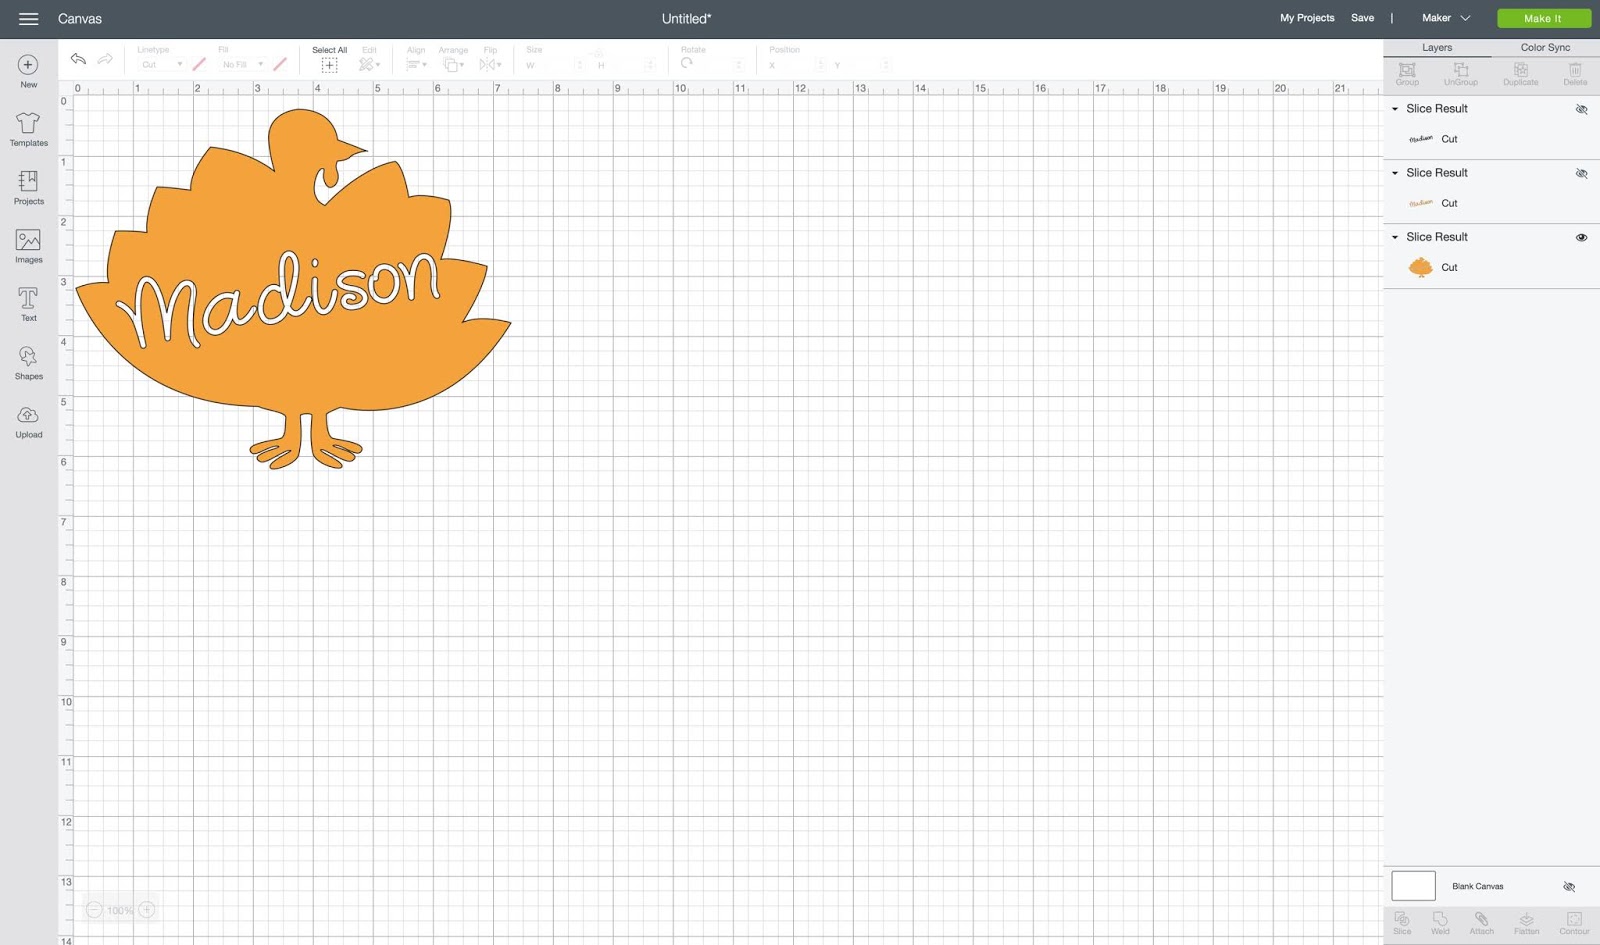
5. For this project, you’re also going to want to measure your tee and use half of that size for your design. Madison’s shirt was close to 12″ across, so we made our design just a little over 7″ across, so it would be just a little bit more than half.
6. When you’ve got your design exactly as you want it, it’s time to cut it out, but before you do so, make sure that you mirror your image as you need to do for iron-ons.
7. Place your Iron-On on your mat with the liner side (the shiny side) down. If you’re using the holographic, then you’ll turn your dial on the Explore Air 2 to Iron-On. If you’re, however, going to use the glitter, then you’ll turn it one more time between Iron-On and Light Cardstock.

8. Load your mat with your iron-on and hit the go button. The design space will guide you through cutting, so you can’t go wrong. Once the cutting is done, remove your design from the liner using your weeding tool.
Now it’s time to add your design to your t-shirt. This is where the fun begins.
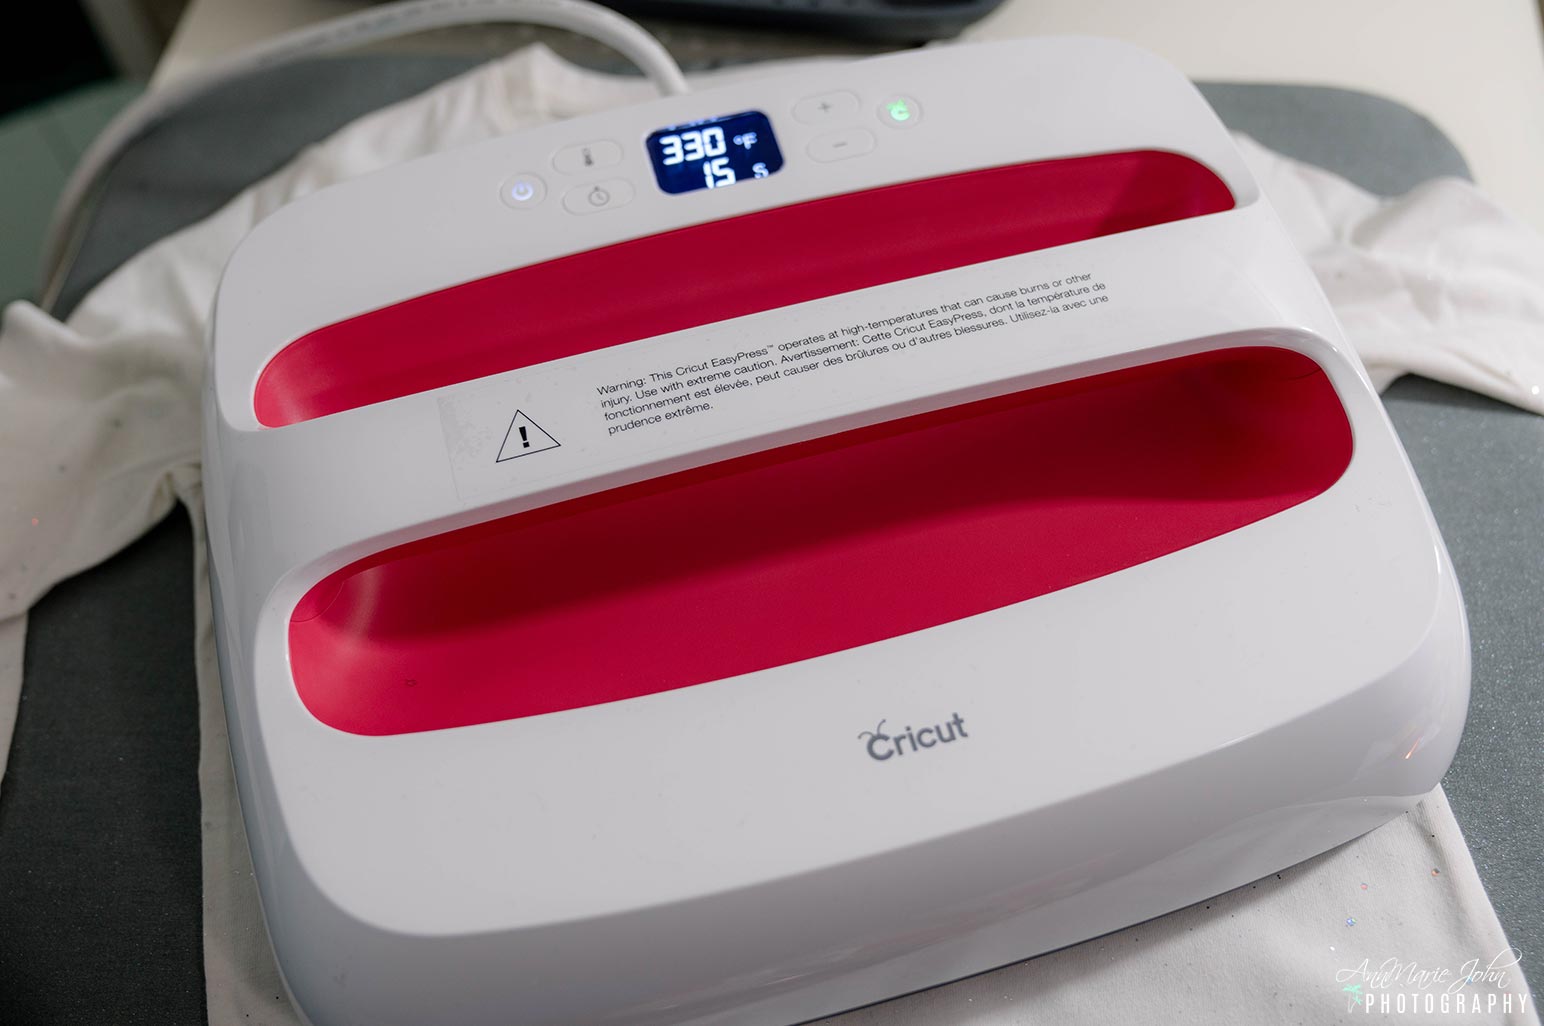
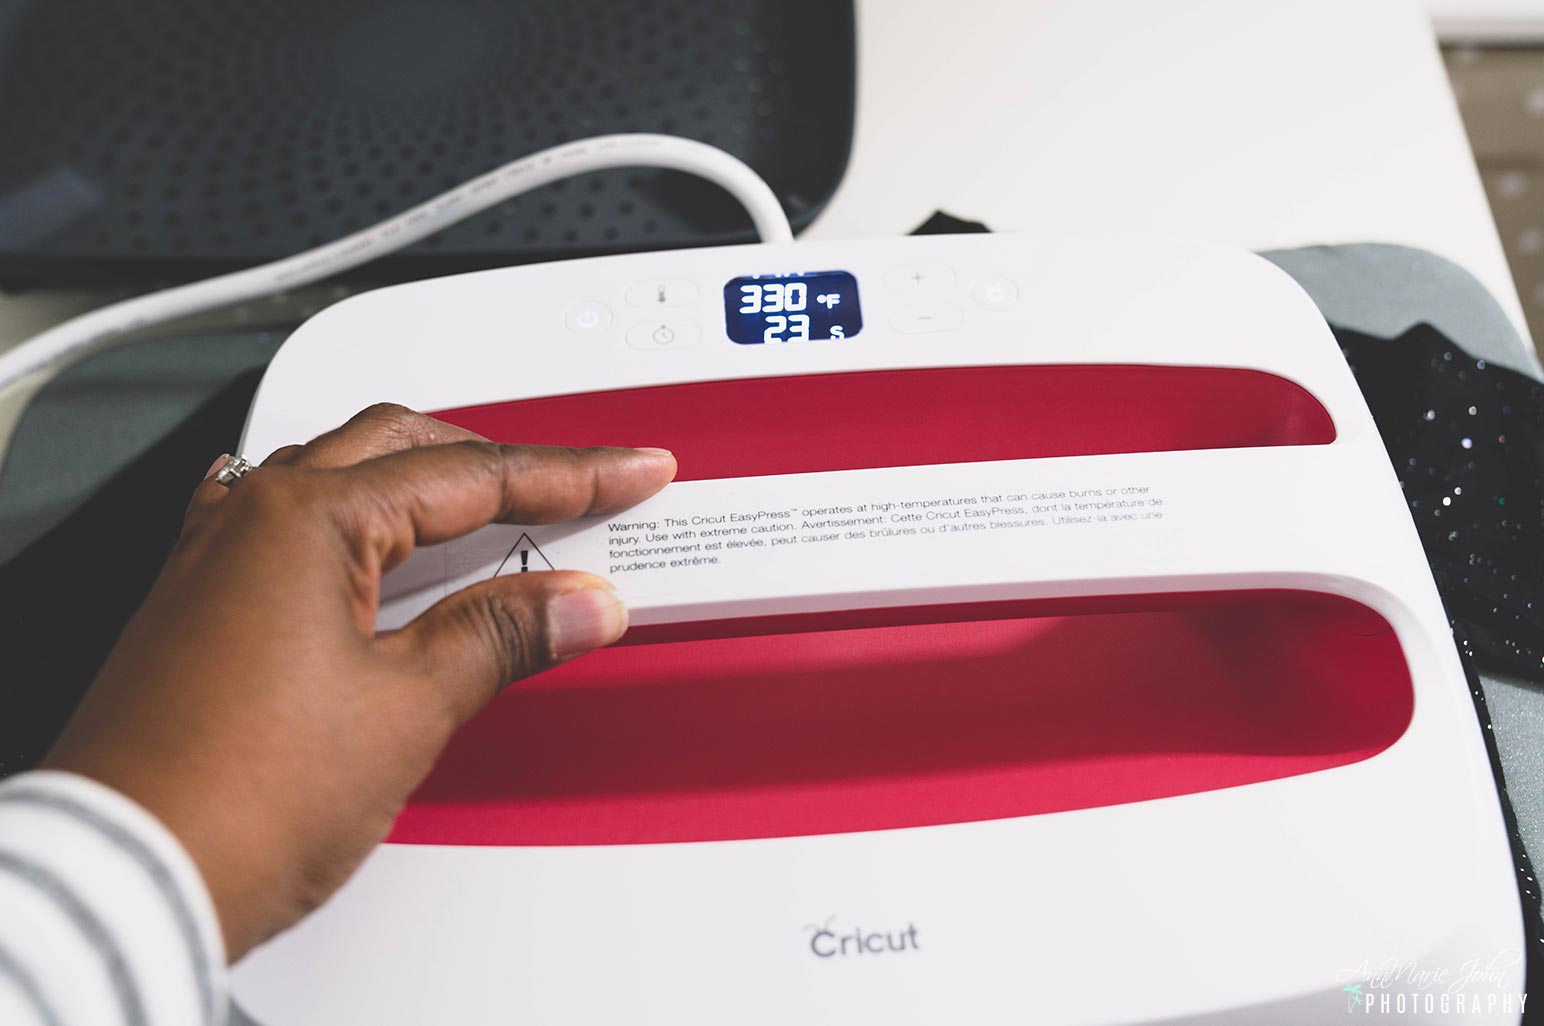
9. Using the Cricut Heat Guide, heat up your EasyPress 2 to the desired temperature, and using your EasyPress mat, preheat your shirt for 5 seconds using the EasyPress 2.
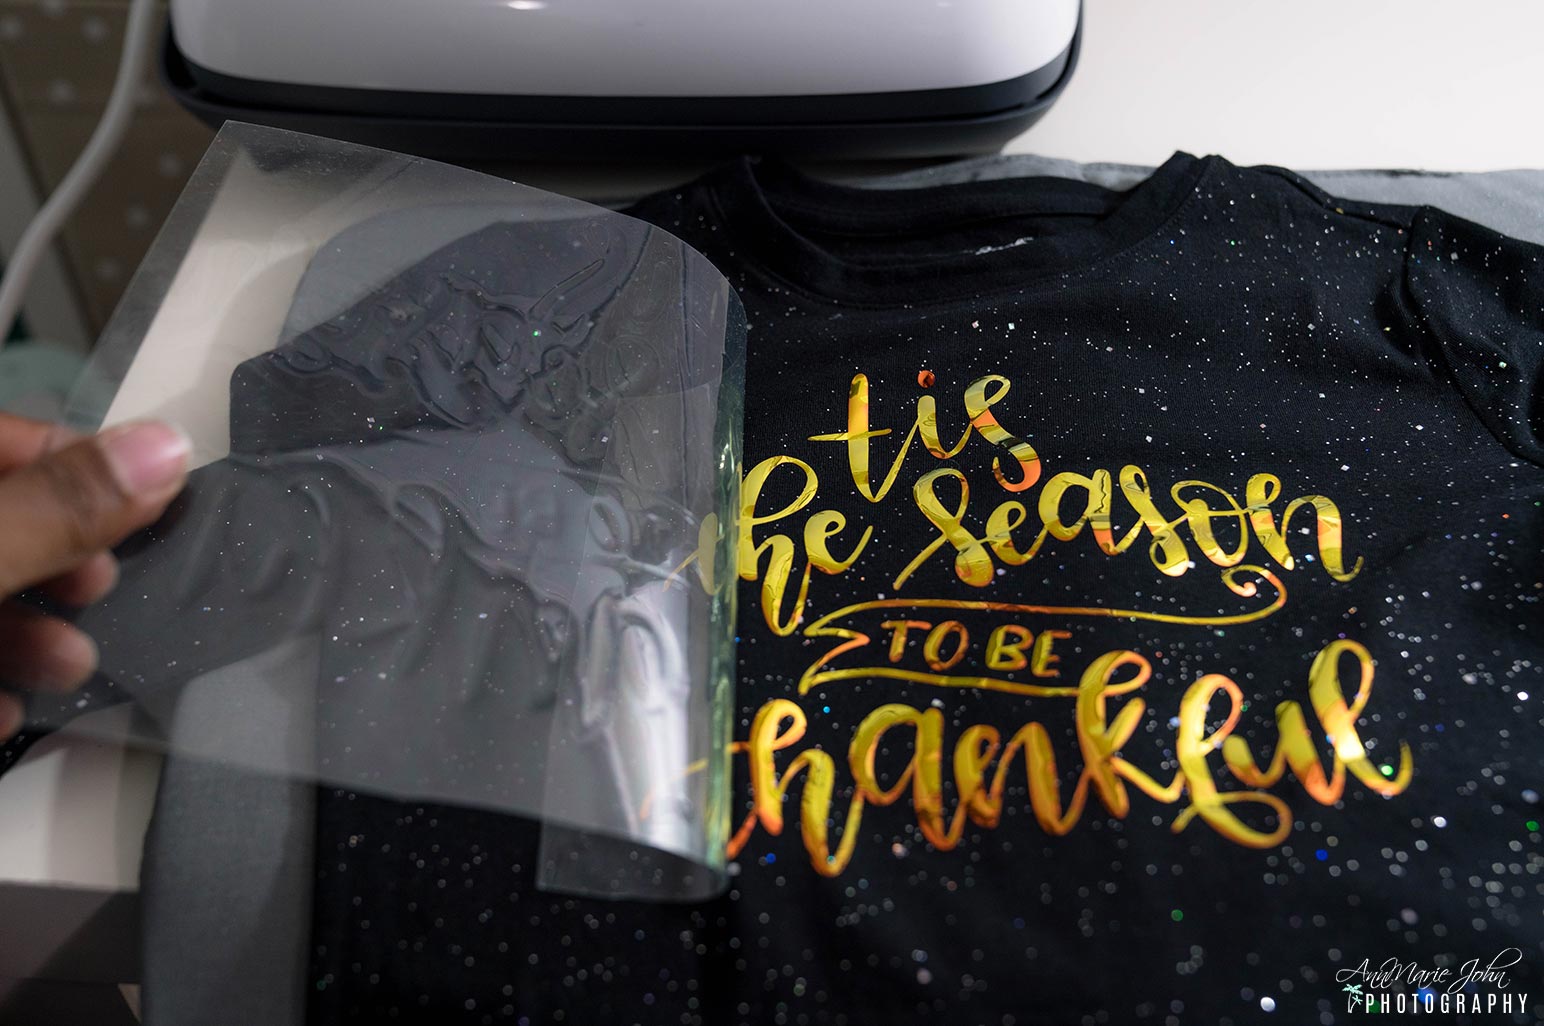
10. Place your design with the liner side facing up onto your shirt and press your shirt with the EasyPress 2 with light pressure for 30 seconds.
11. Flip your shirt and press the other side for another 15 seconds. Slowly remove the liner from your shirt and design while still warm, and you’re all done.
While this may seem like a lot of steps, this took less than 20 minutes from start to finish, and as soon as you get the hang of it, you can do it in about 10 if you use a design that’s already provided for you in Cricut Design Space.
Now you can design your own t-shirts and make one-of-a kind items, all thanks to the Cricut EasyPress 2. We couldn’t be more thankful.

