
It’s beginning to look a lot like Christmas.
Everywhere you go.
Take a look in the five and ten glistening once again.
With candy canes and silver lanes aglow.
It’s beginning to look a lot like Christmas.
Toys in every store.
But the prettiest sight to see, is the holly that will be.
On your own front door!
That’s the lyrics to one of my all-time favorite Christmas carols. While Halloween (you may also try our Frankenstein Rice Krispy Treat) may have just ended, who else is dreaming of Christmas? I will be the first to admit that Christmas is by far one of my most cherished holidays. I love seeing the decorations in the stores and hearing the Christmas carols on the airwaves.
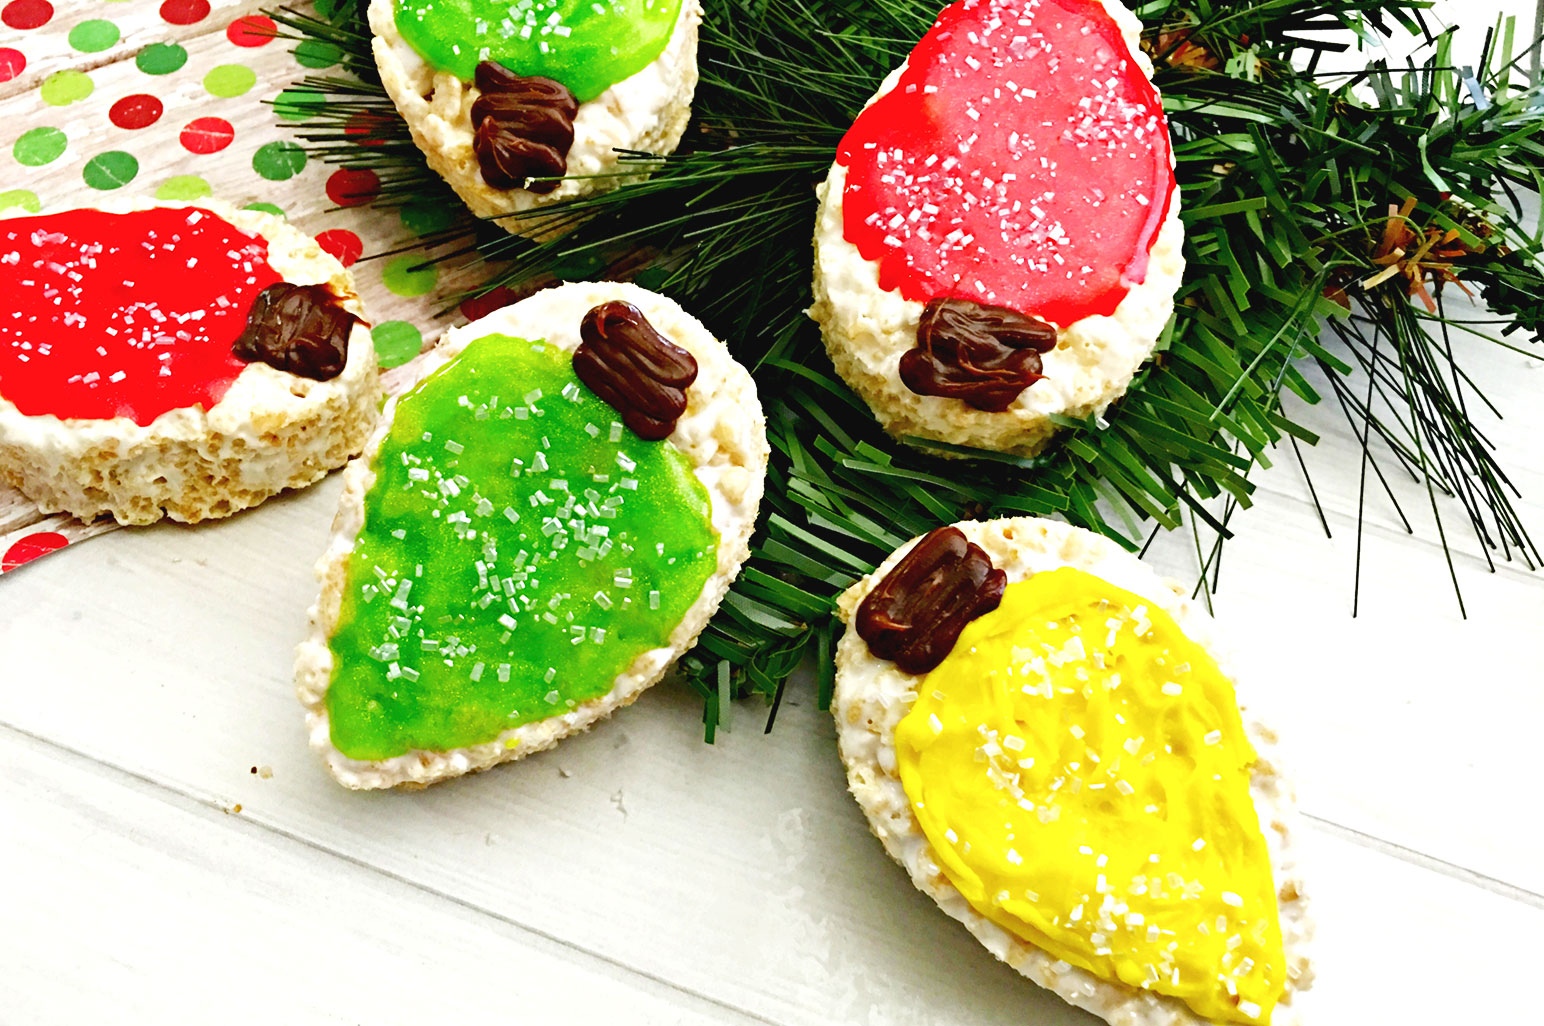
The weather has gotten significantly cooler here in Colorado Springs, and we have even experienced a bit of snow. With Christmas right around the corner, I’m already obsessing about decorating my home and outdoors. I delight in decorating for the holidays and can’t wait to string the lights on my Christmas tree, among other things. Since I have a while to go, I decided to do the next best thing: bake up some treats into lights that I can eat. Introducing our Rice Krispies Lights. These are not just fun to whip up but also a delight to eat.

Rice Krispies Lights
This is what you’ll need:
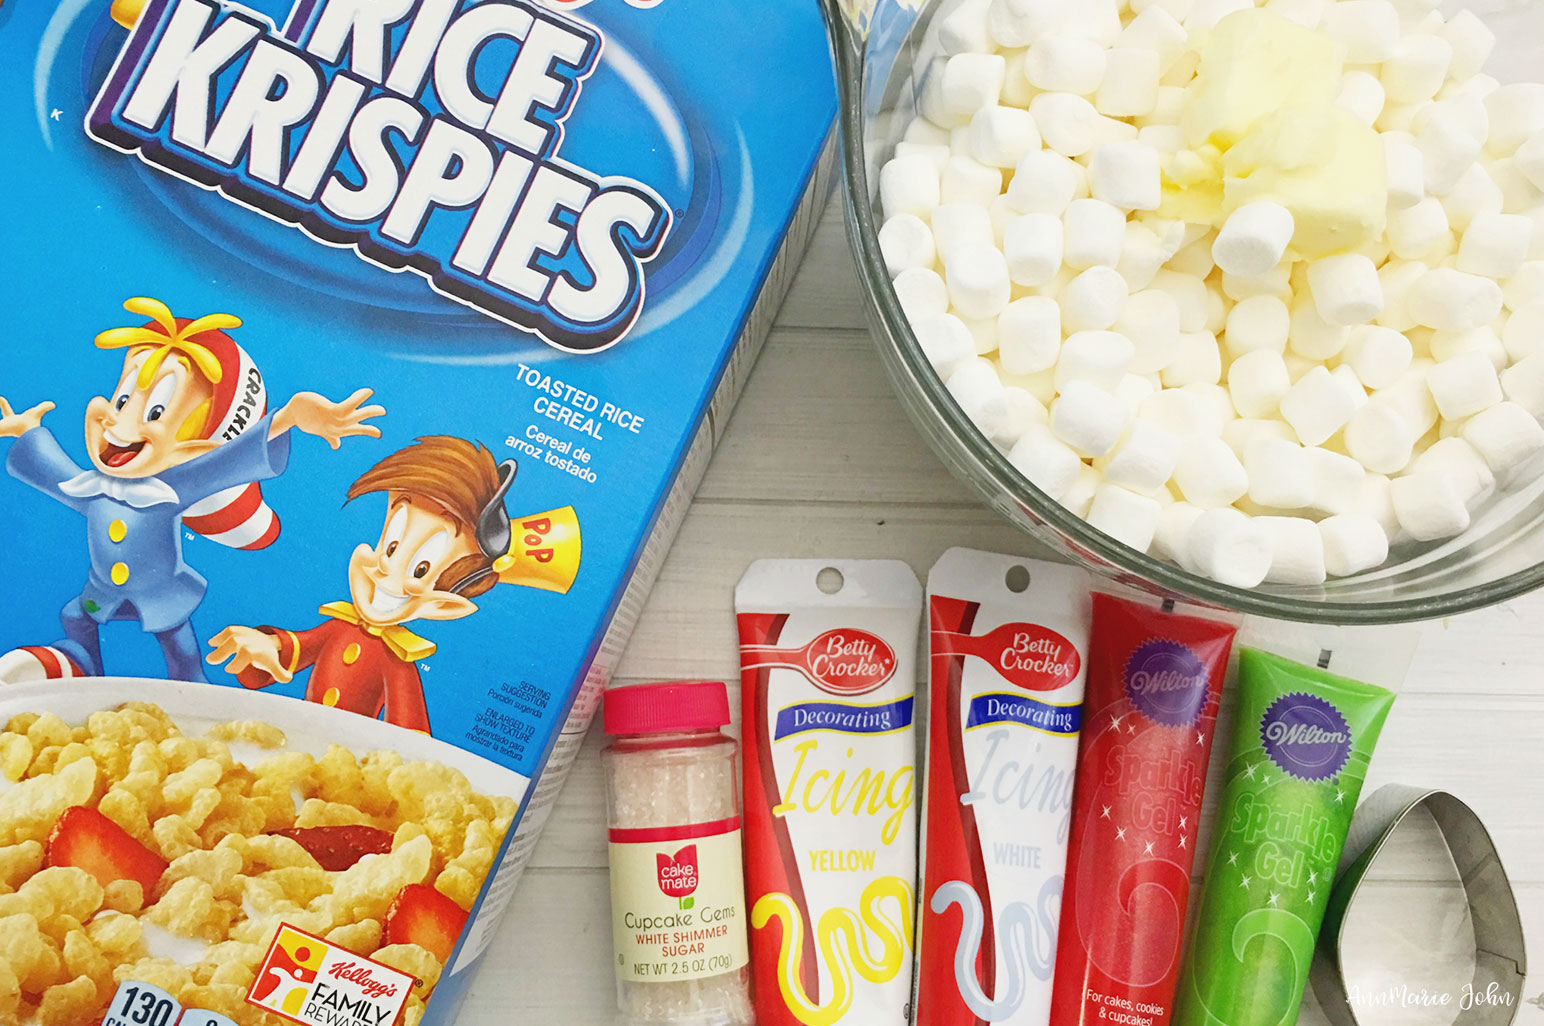
Ingredients
6 cups Rice Krispies cereal
10 oz. miniature marshmallows
3 Tablespoons butter
You will also need
Non-stick cooking spray
9 x 13″ baking pan
Easter egg cookie cutter
Tubes or cans of red, green, yellow and brown icing
Shimmer sugar
Directions
1. Place your marshmallows and butter in a large, microwave-safe bowl.
2. Microwave for about 1-2 minutes or until marshmallows start to get puffy and soft.
3. Stir your marshmallows and butter well, then mix in your cereal.
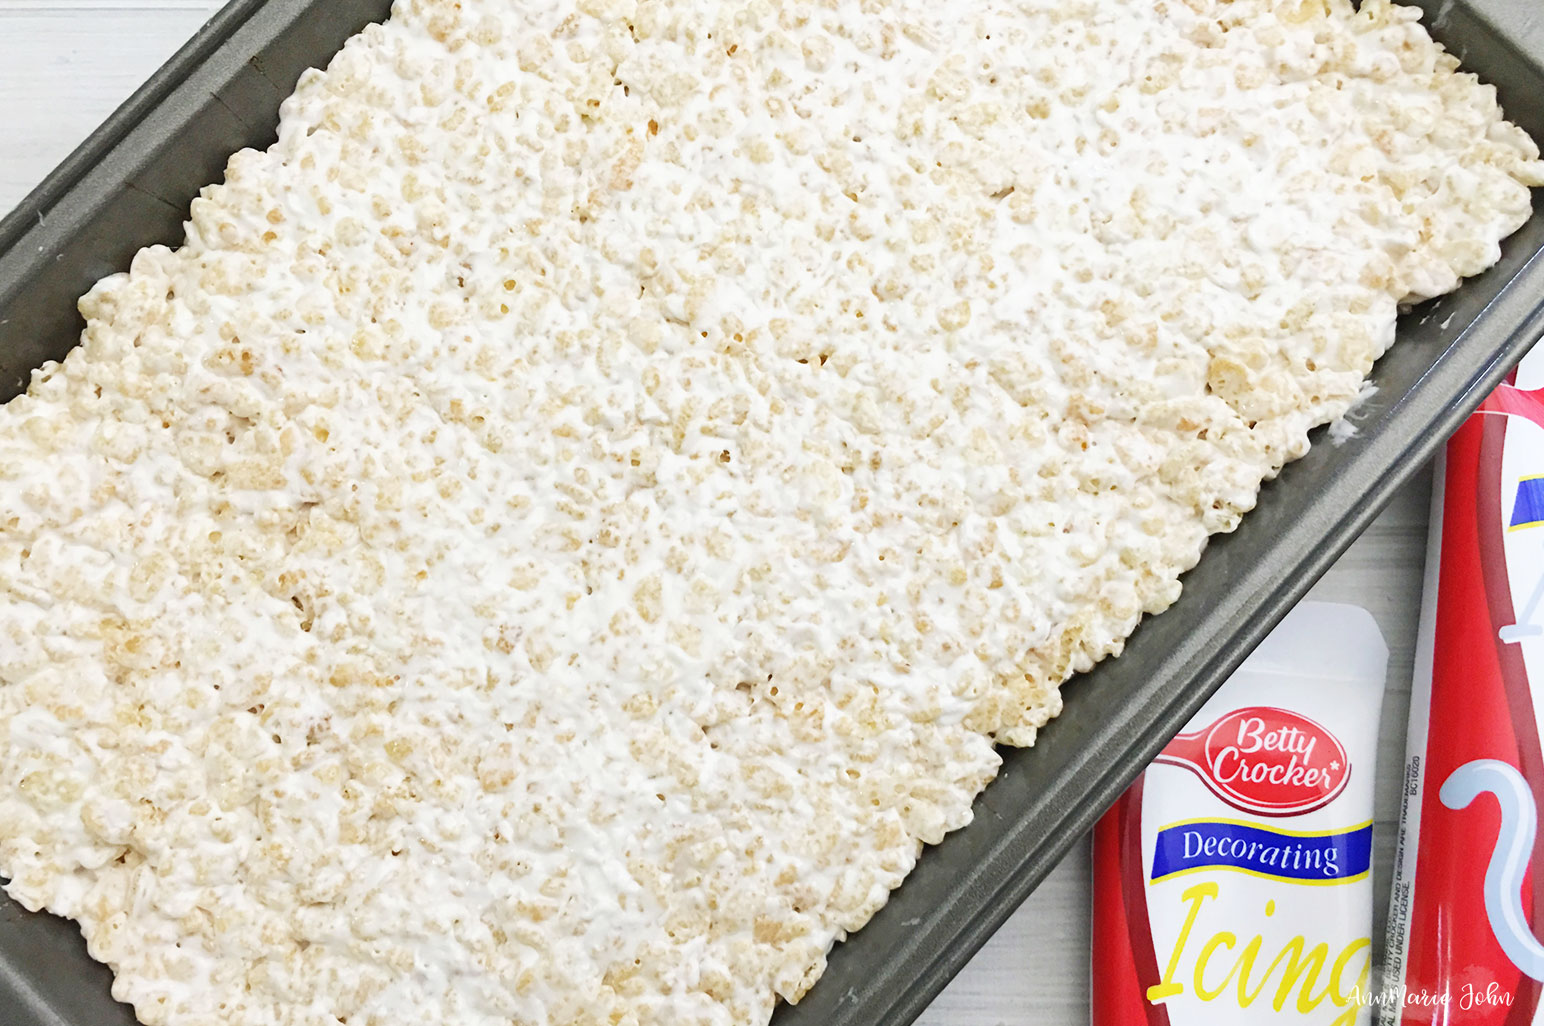
4. Grease your baking pan with a non-stick cooking spray and press your Rice Krispie treats into the pan.
5. Freeze for about 20–30 minutes or until they start to firm up.
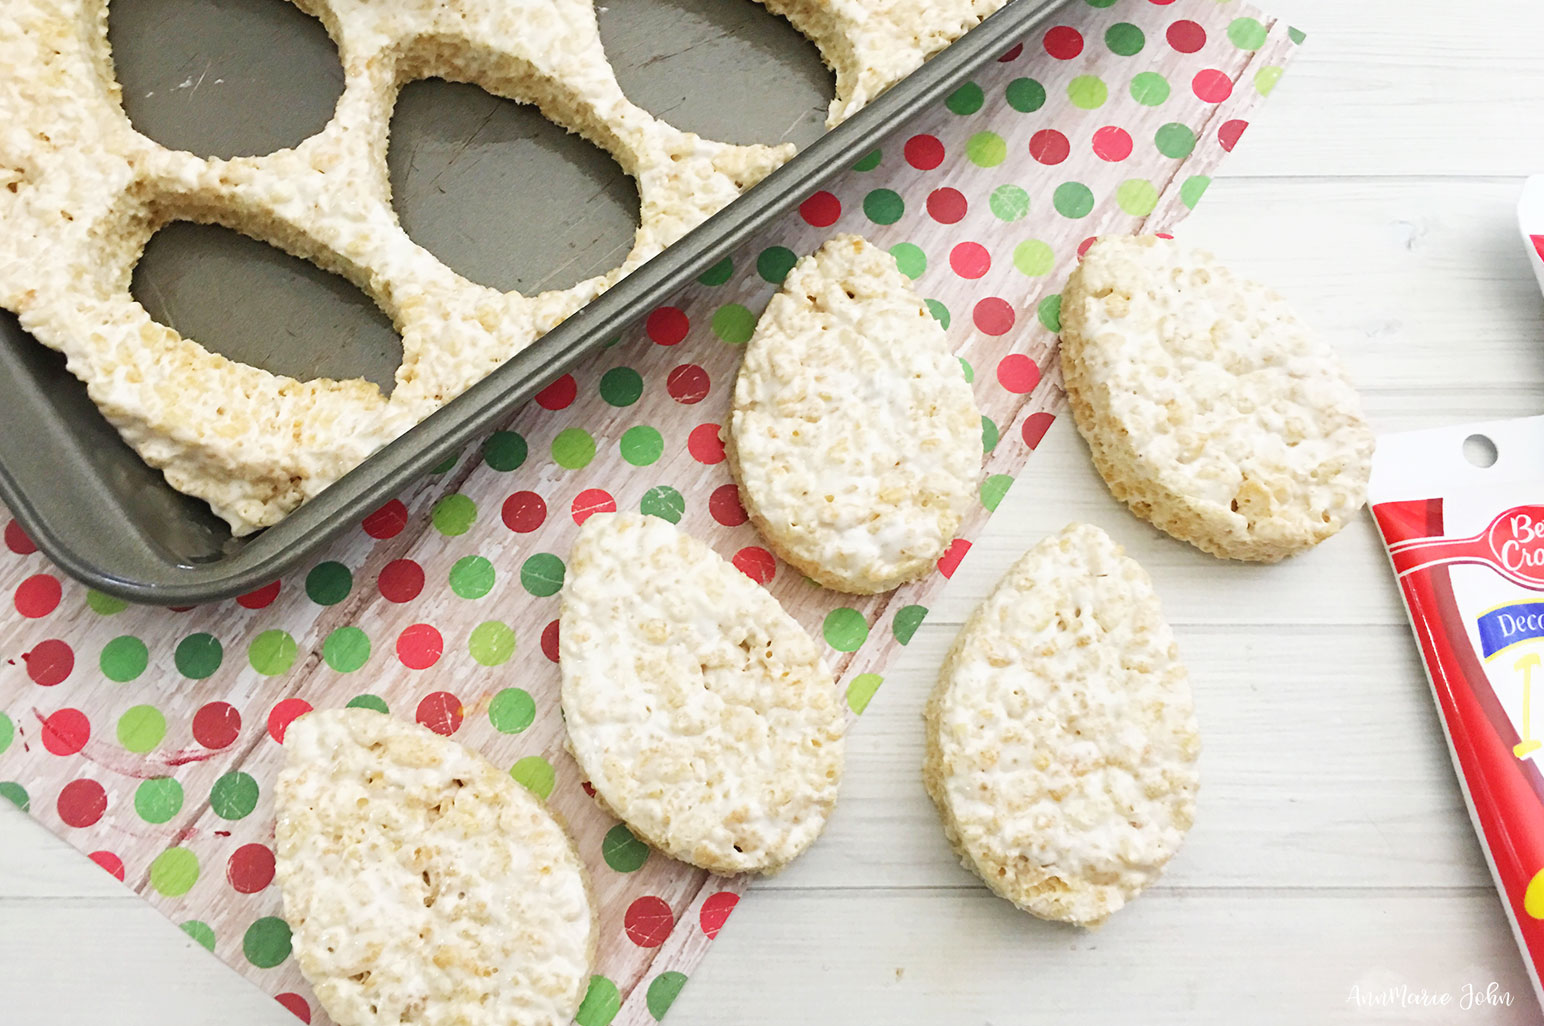
6. Use your cookie cutters to cut out your egg shapes and set them on a piece of parchment paper.
7. Draw a light shape onto the top 3/4 of your egg treats with one of your colored icings and sprinkle with your shimmer sugar.
8. Now use your brown icing to draw a small square onto the bottom part of your light.
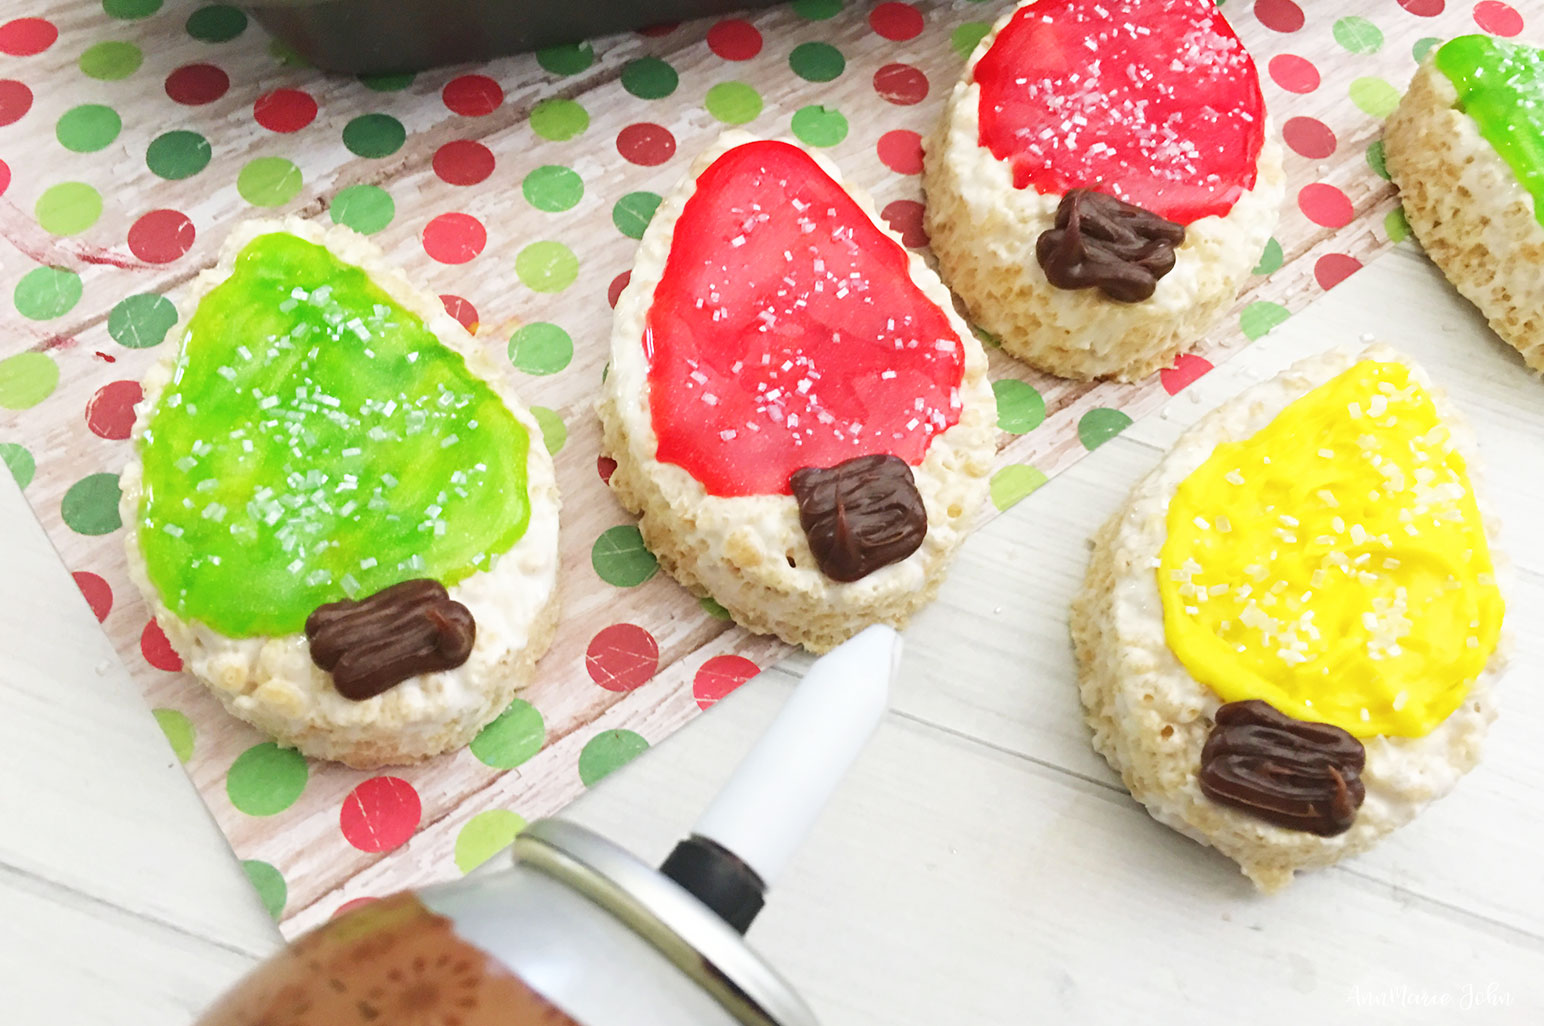
That’s it! You’re done. Easy peasy, lemon squeezy. Get the kids to join in with the decorating, and then eat your Christmas lights.
