
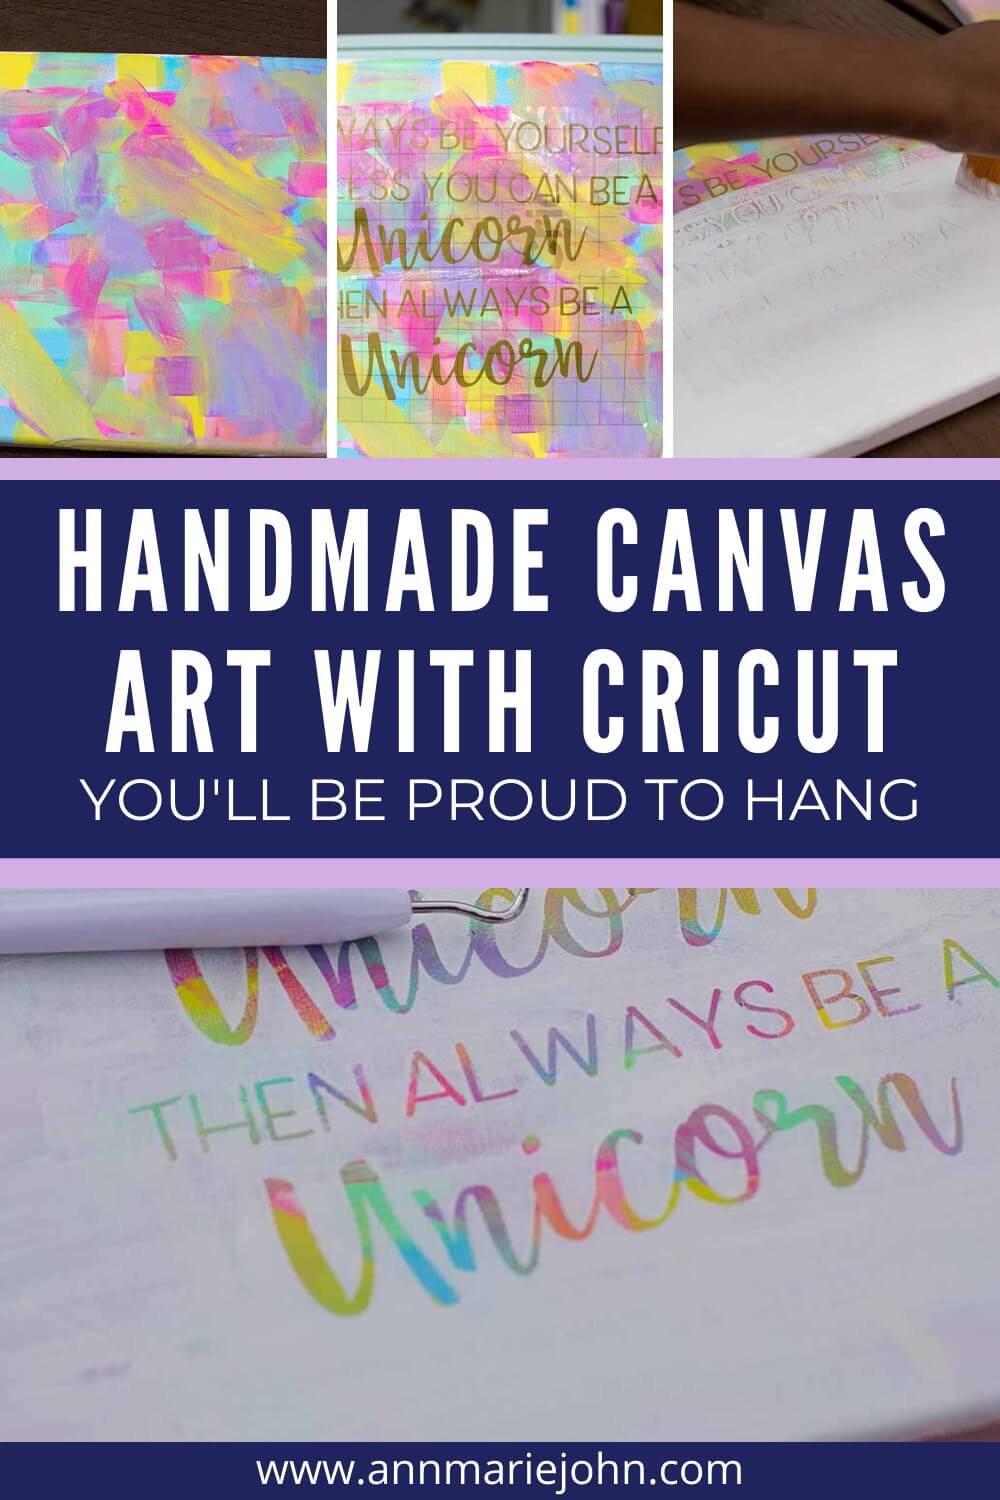
Create handmade canvas art with the kids that you’ll actually feel proud to hang in your home.
I have to say that, thanks to the quarantine, my creativity has increased monumentally. While before my free time would be spent trying to find my next vacation hotspot, now it’s spent thinking of ways I can create items that I can either use around the house or give as gifts. I’ve been able to make soaps, both the foaming and exfoliating kind, bath soaks, and I’ve also made candles. My daughter even requested scrubs, so I made a batch of those as well, and I promise to make another so I can share them with you as well.
While those are all great projects to do indoors, we’ve had fantastic weather here lately in Colorado Springs. We’ve seen temperatures in the high 70’s and with weather that nice, why stay indoors. However, what could I do outdoors with the kids? Well, we tried our hands last week at hot mess canvas art, using our Cricut Explore Air 2, and I have to say that it turned out really well.
SUPPLIES:
9×12 Canvas
Various Acrylic Paint colors including white
Paint Brushes
Brayer (optional)
DIRECTIONS:
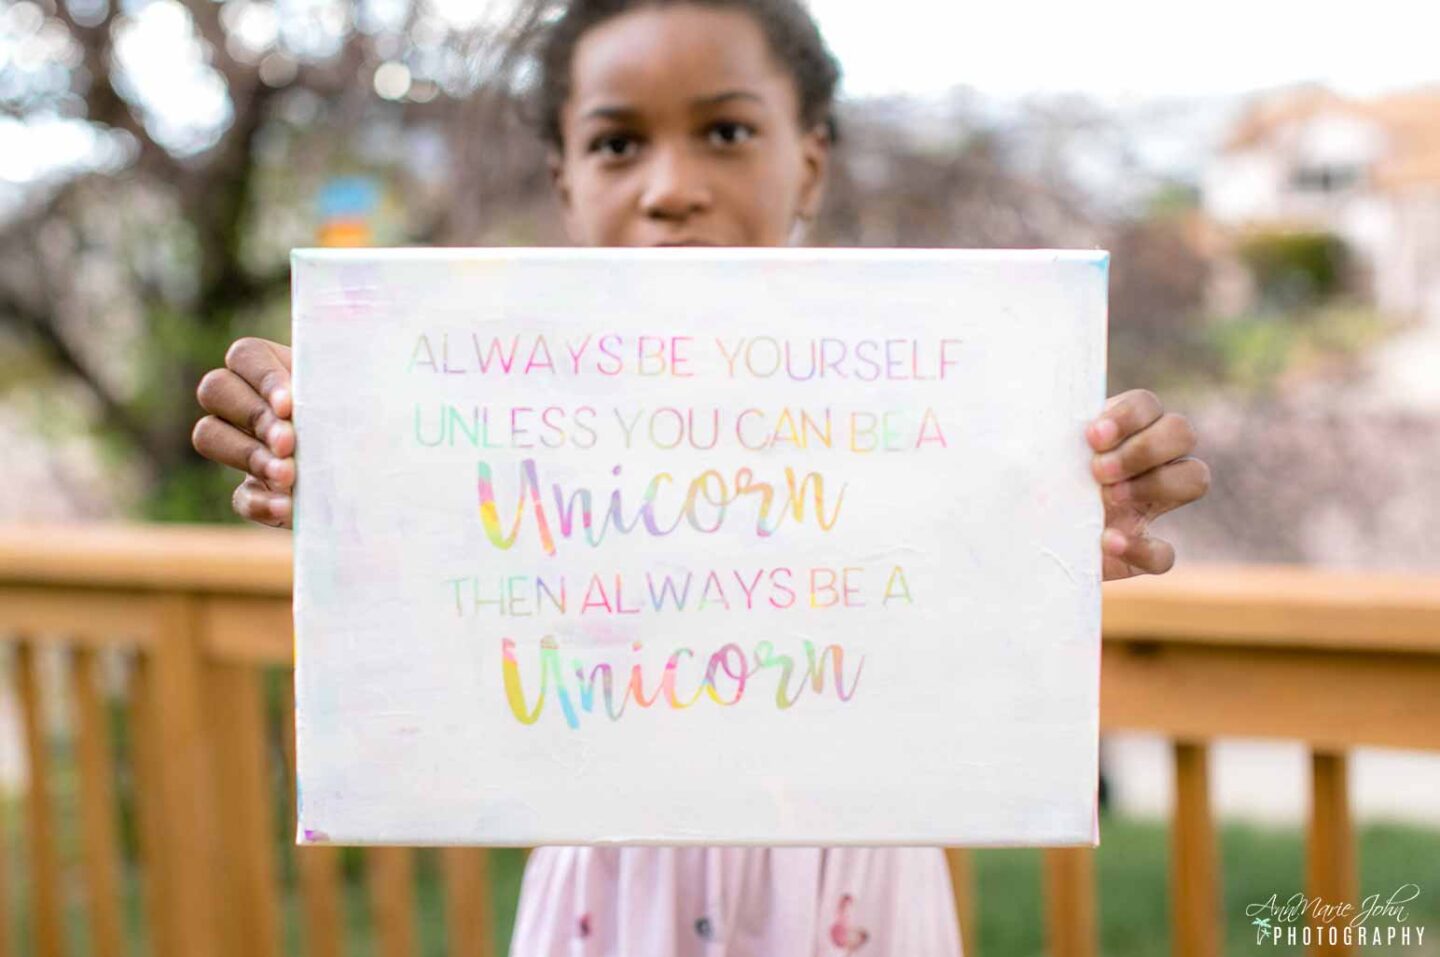
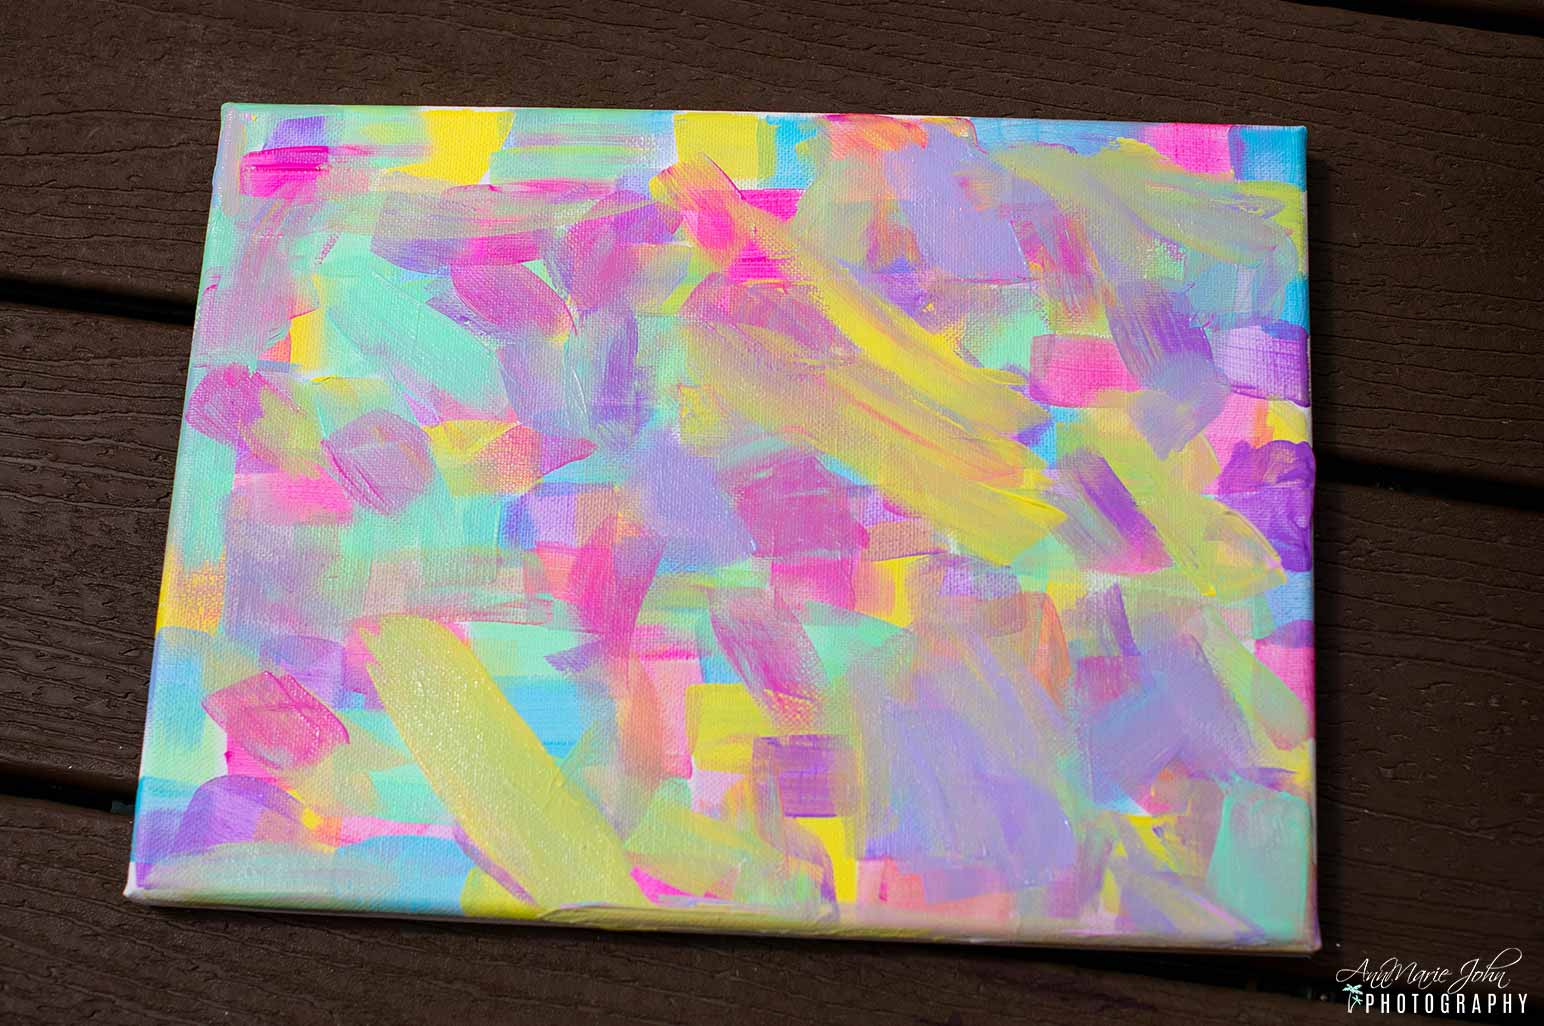
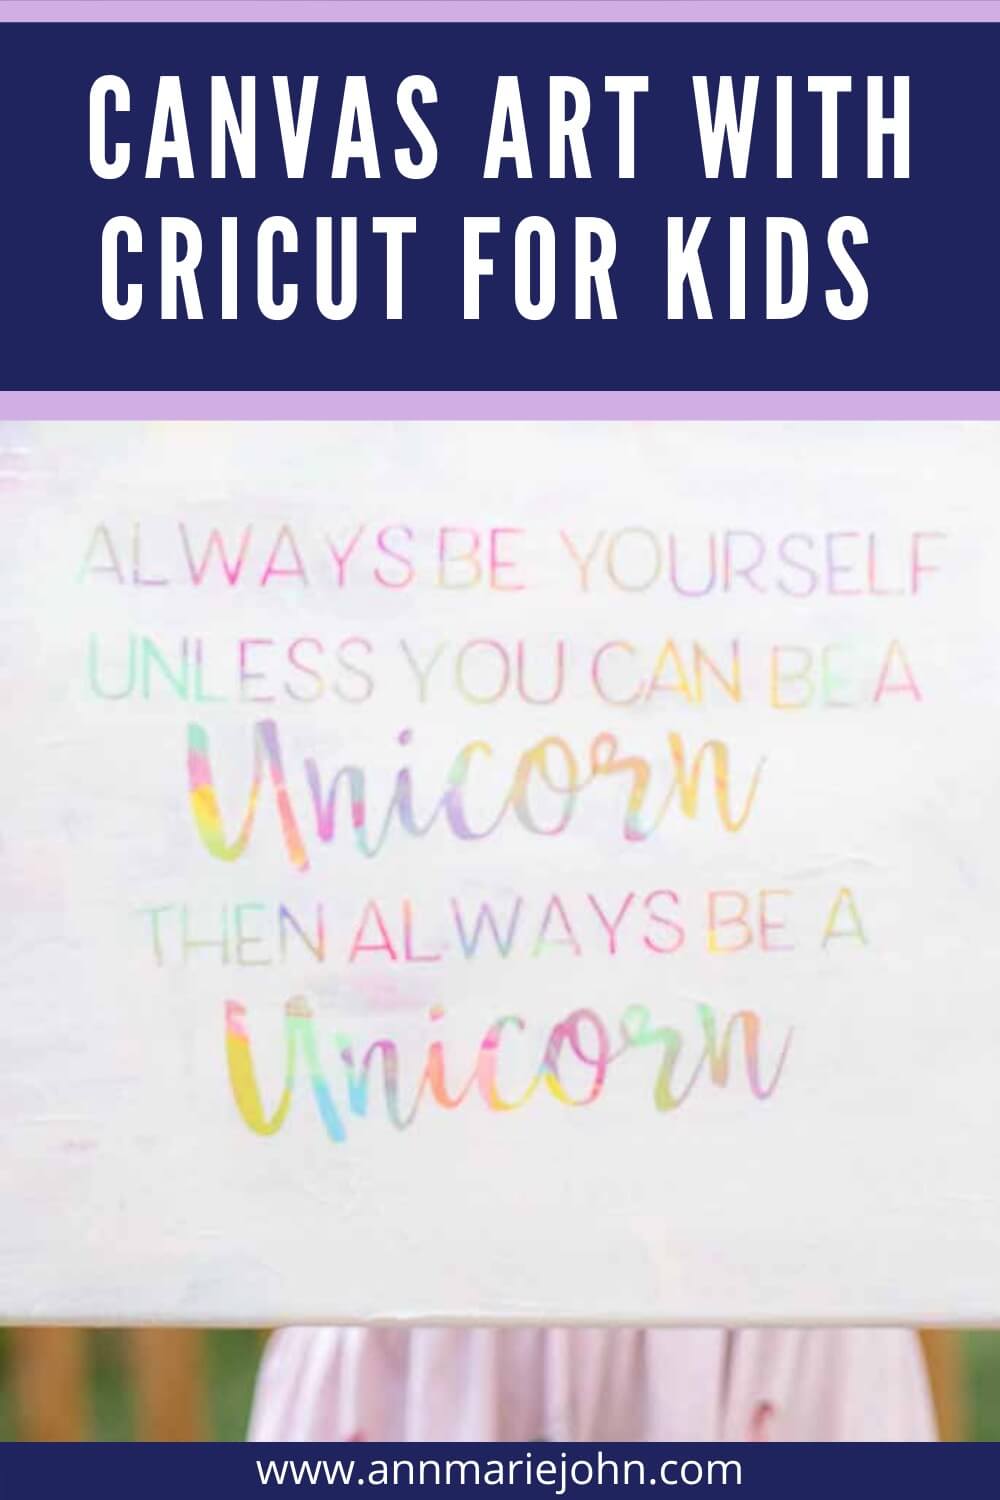
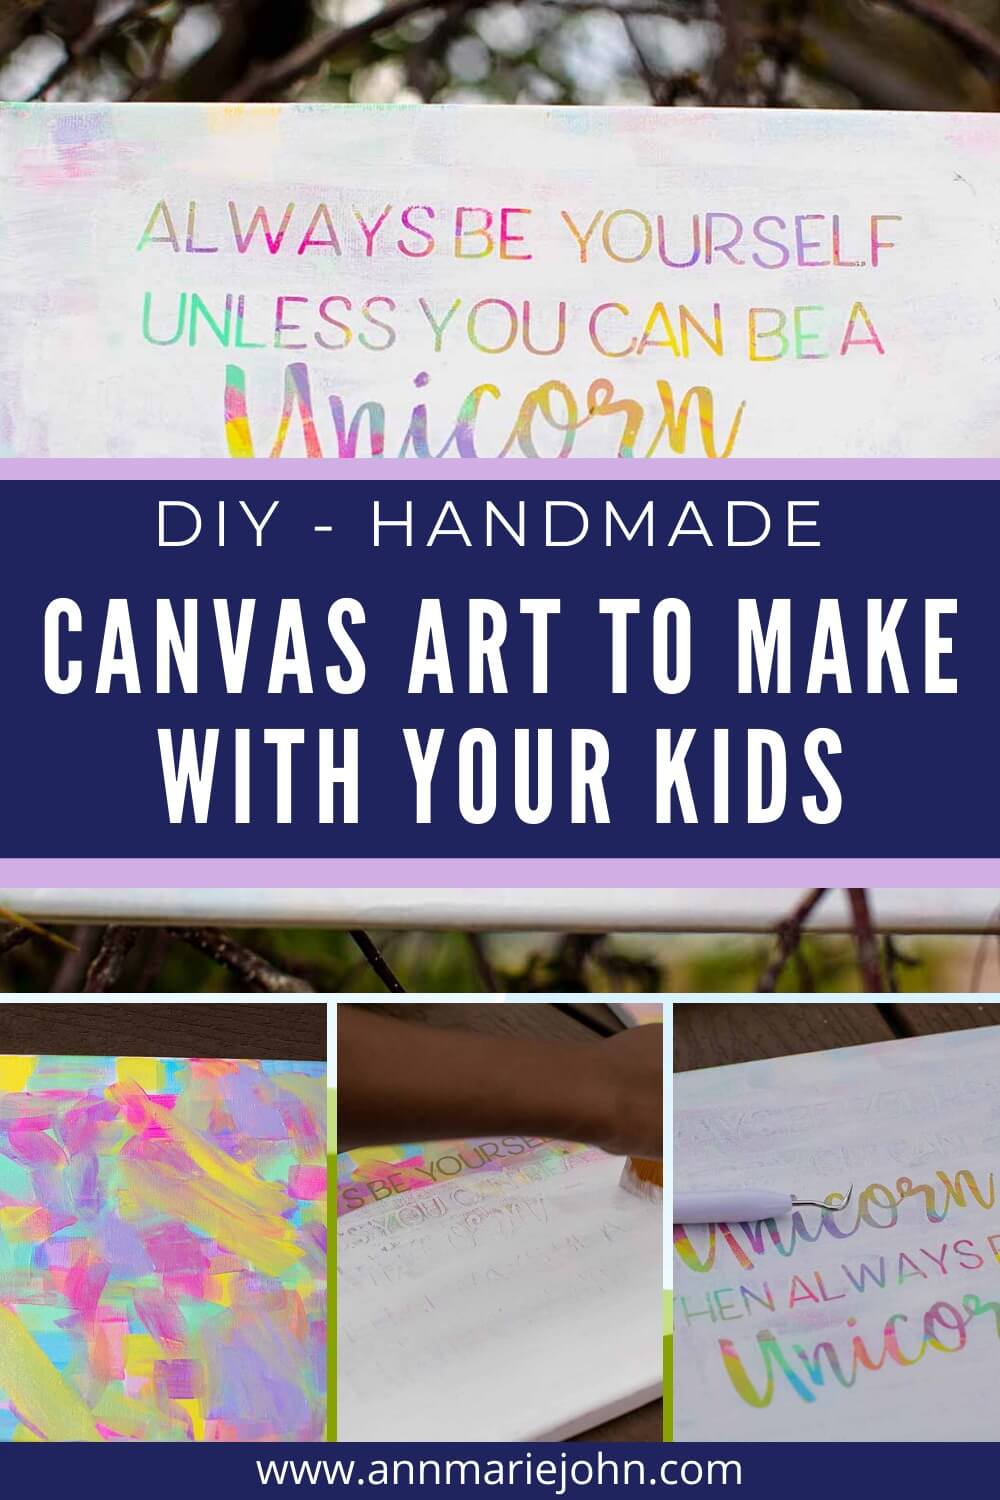
STEP 1: Begin by choosing your colors. For this one, I had an idea of what Madison wanted to do as she’s in love in unicorns, so we chose colors that are representative of unicorns, pastel colors.
STEP 2: This is also called a hot mess canvas, but it won’t really look it in the end. Have the kids put colors all over the canvas. Cover every section of your canvas until they’re happy with the look. This is one of those things that you won’t mind them making a mess of. It’s not going to be perfect, and it doesn’t have to be. Once they’re finished painting, let it dry.
STEP 3: Next, find a saying in the Cricut Design Space store or make your own. You can easily design one with the text and shape or image option. After our experience with this canvas, I would say choose a hand-lettered font as it will be much easier to weed from the vinyl, and also remove from the canvas.
STEP 4: Size the saying to fit your canvas, then cut your design. Use your weeding tool to weed your design, and then use the transfer tape to apply the vinyl to your canvas. I strongly recommend using the regular transfer tape and not the strong grip. I made the mistake of using the strong grip transfer tape, and the vinyl wouldn’t get off the tape. Learn from my mistake. If you’re having problems getting your vinyl to attach, burnish it with a brayer, as that seemed to help for me as well
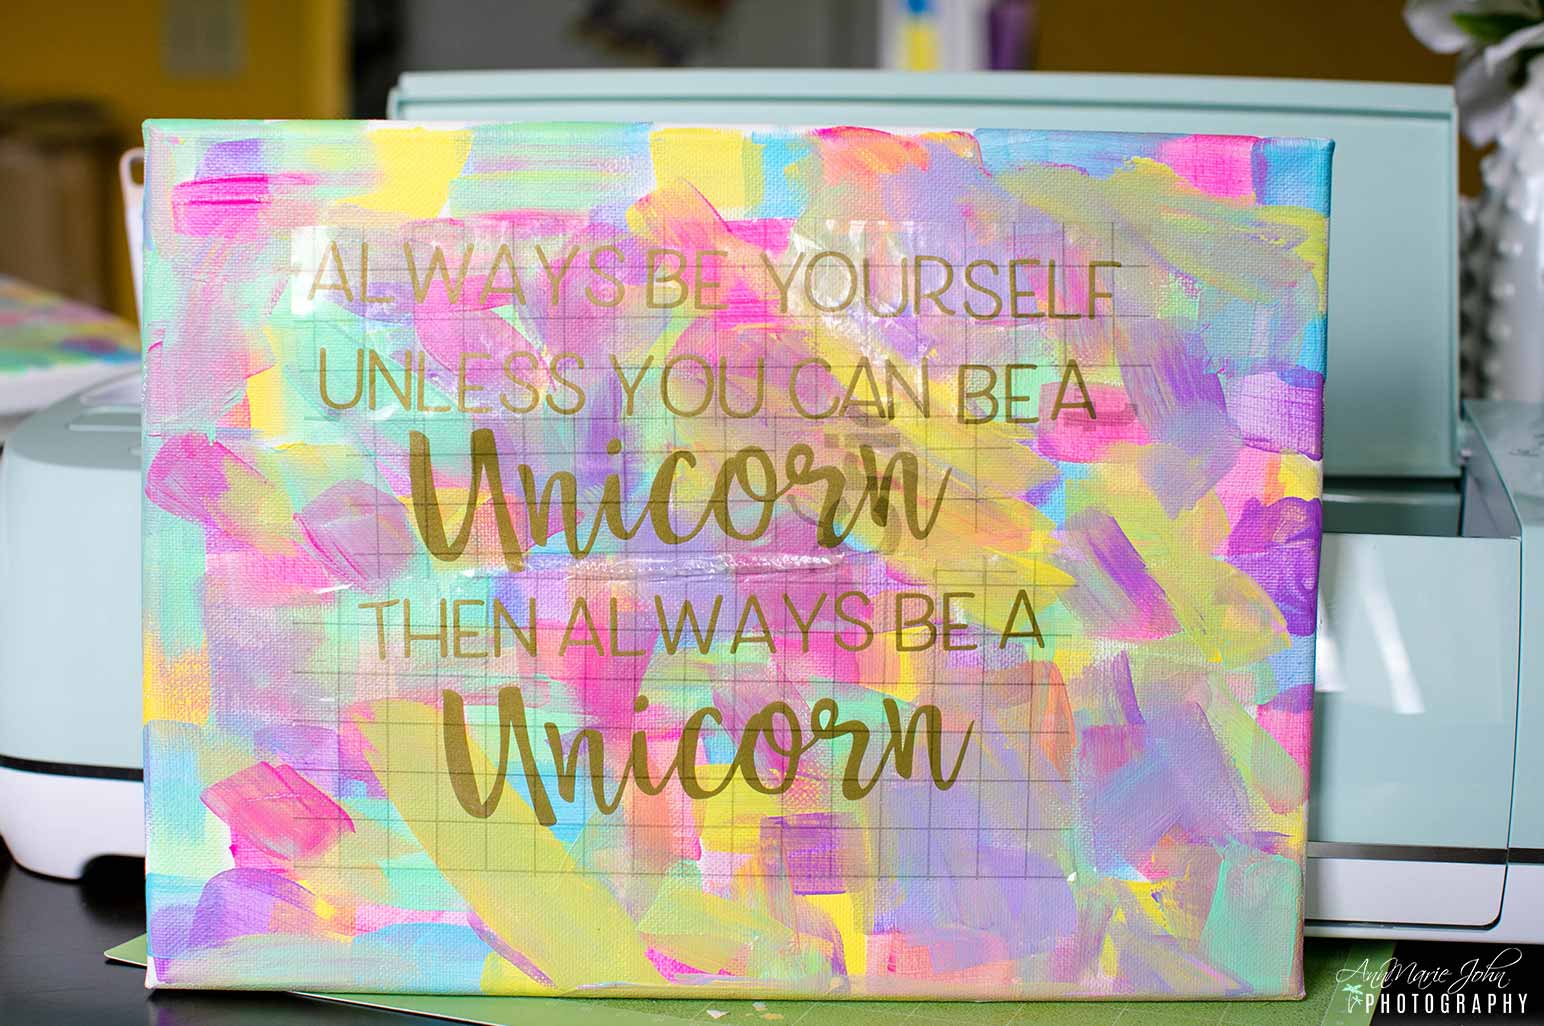
STEP 5: Once you’ve transferred your saying/graphic, now it’s time to add coats of paint in white, covering the entire transfer.

STEP 6: While slightly damp, not completely dry, remove the transfer vinyl from your canvas art with your weeding tool. What you’ll be left with is a beautiful design of color showing through.

Pretty easy, right? I can’t wait to see your own DIY Canvas Art utilizing your Cricut cutting machines. And now you have no excuse not to hang your child’s artwork on your wall.
PIN THIS POST TO YOUR FAVORITE BOARD ON PINTEREST

