
Is one of your resolution this year to make a difference in the world, but have no idea where to begin? How about starting with your local food bank? Together with Cricut, I want to share how easy it is to not only do good but to bring awareness to hunger and homelessness.
This is a sponsored conversation written by me on behalf of Cricut. The opinions and text are all mine.

Growing up I never had to worry about hunger or being homeless, but life isn’t always lemonade and sunshine. Anything can happen in an instance. One moment, you could be living the high life with the job of your dreams, and the next, you could be walking into a food bank because you’ve recently lost said job and things aren’t looking up for you.
There is no shame in going into a food bank to feed your family. I remember volunteering weekly at my church’s food bank and the look on some of the faces of the people who would come in there broke my heart. I knew deep down that they were embarrassed to be there, but they were doing what they had to do for themselves and their family until things got better.
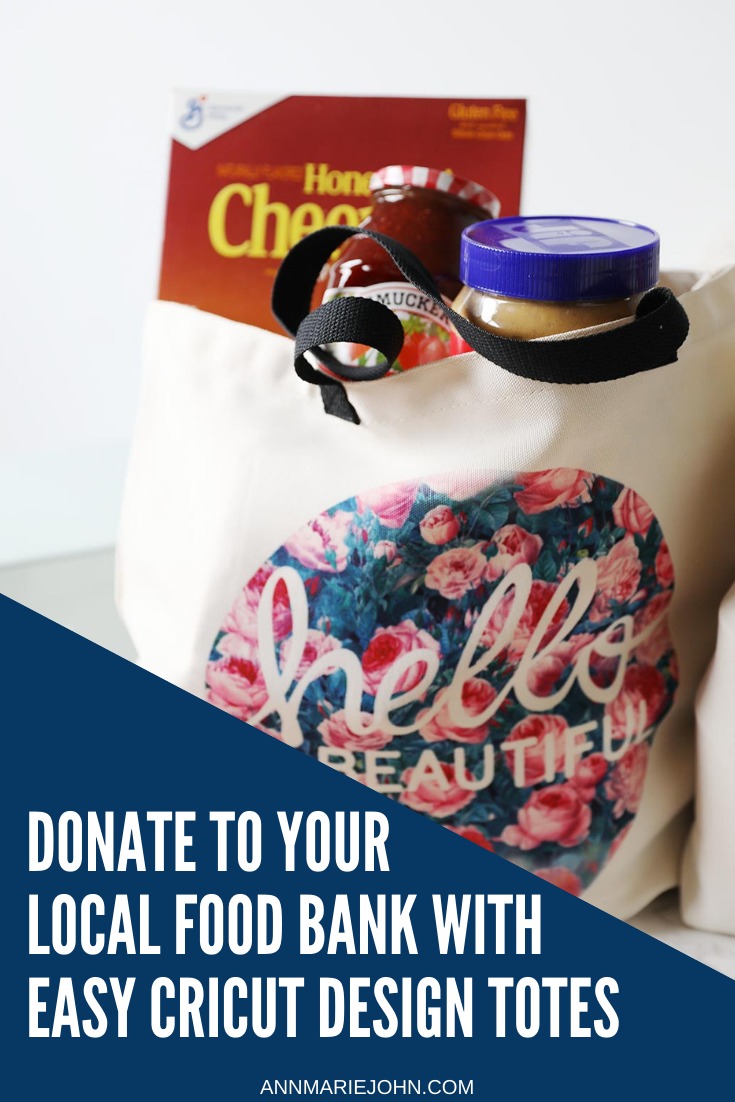
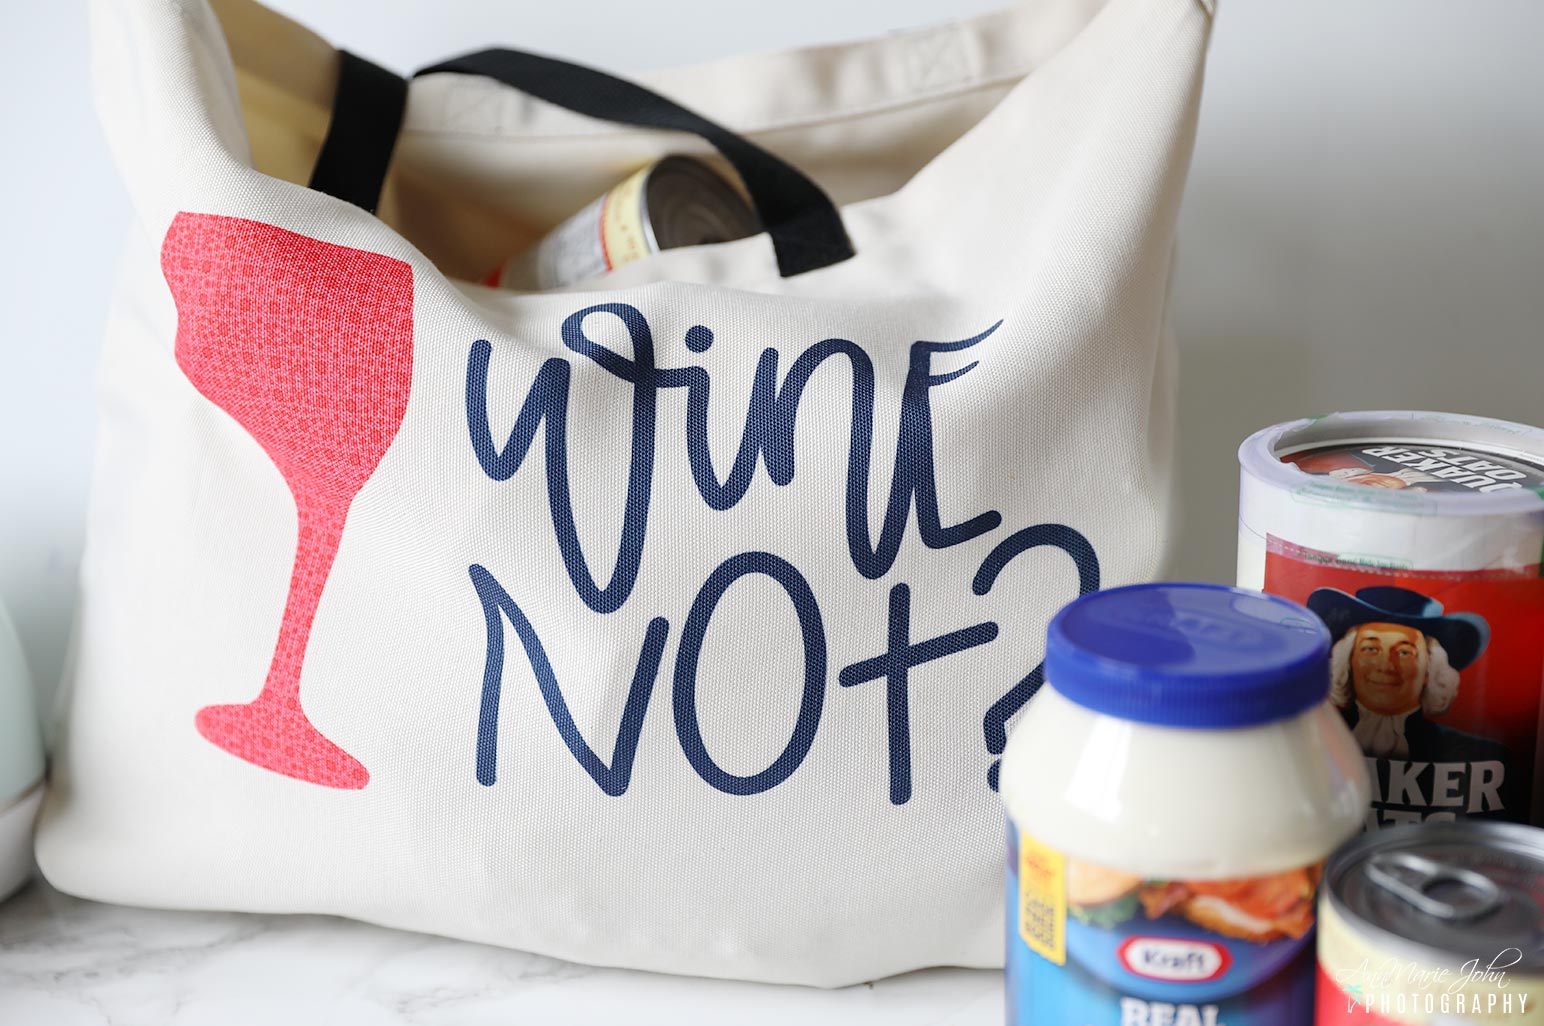
Most food banks offer you plastic bags or a cardboard box of groceries that’s good enough for a few meals, but it’s usually fairly obvious once you leave with your bag or box, that’s where you came from. So how about making them feel even better about themselves by not only donating food but by giving them a bag that they can cherish? I decided to make 4 totes in total and filled them with food that my family and I will be taking to our local food bank along with the totes.
Here’s what you’ll need:
SUPPLIES
Copy Paper
Butcher Paper
White Cardstock
Heat Resistant Tape (optional but preferred)
Totes (large sizes)
Lint Roller

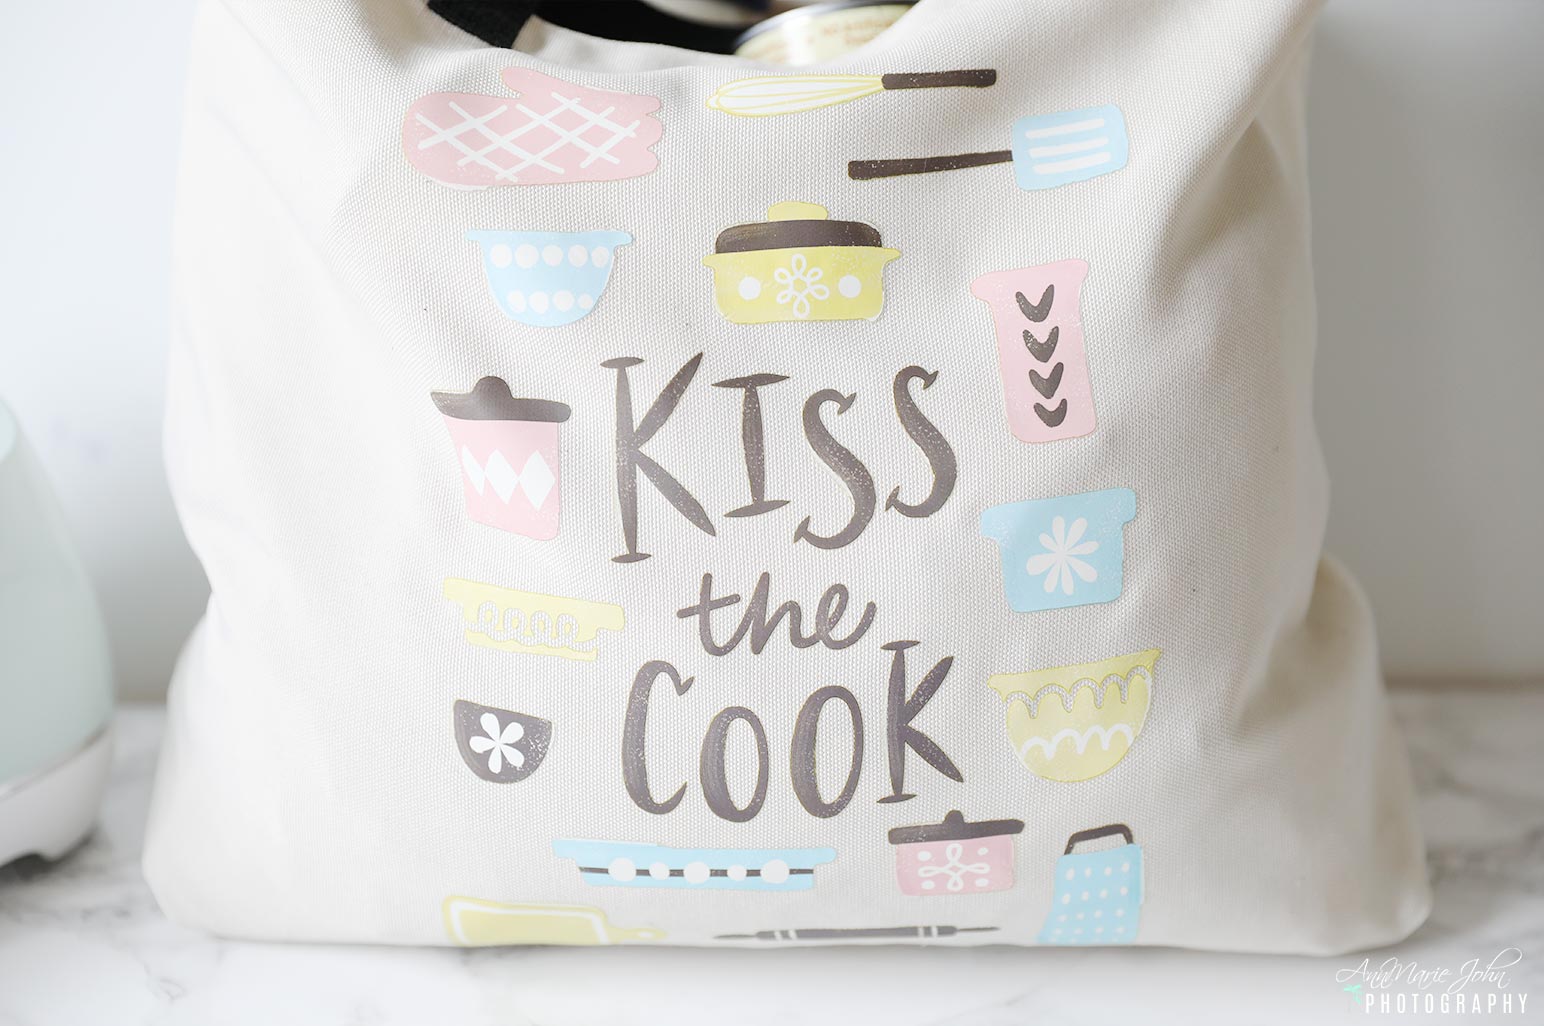
Three of our designs were created in Cricut Design Space which you can find here while Kiss the Cook is a pre-made Cricut Iron-on Design. I’ve previously shared how to use the Cricut Infusible Ink Pens which is by far one of the easier ways to use your Cricut Explore Air 2. Although using the Iron-On Designs is just as easy since you don’t need the machine, but having an Easy Press 2 is crucial. The directions for this project will be for using the Infusible Ink Transfer Sheets.
DIRECTIONS:
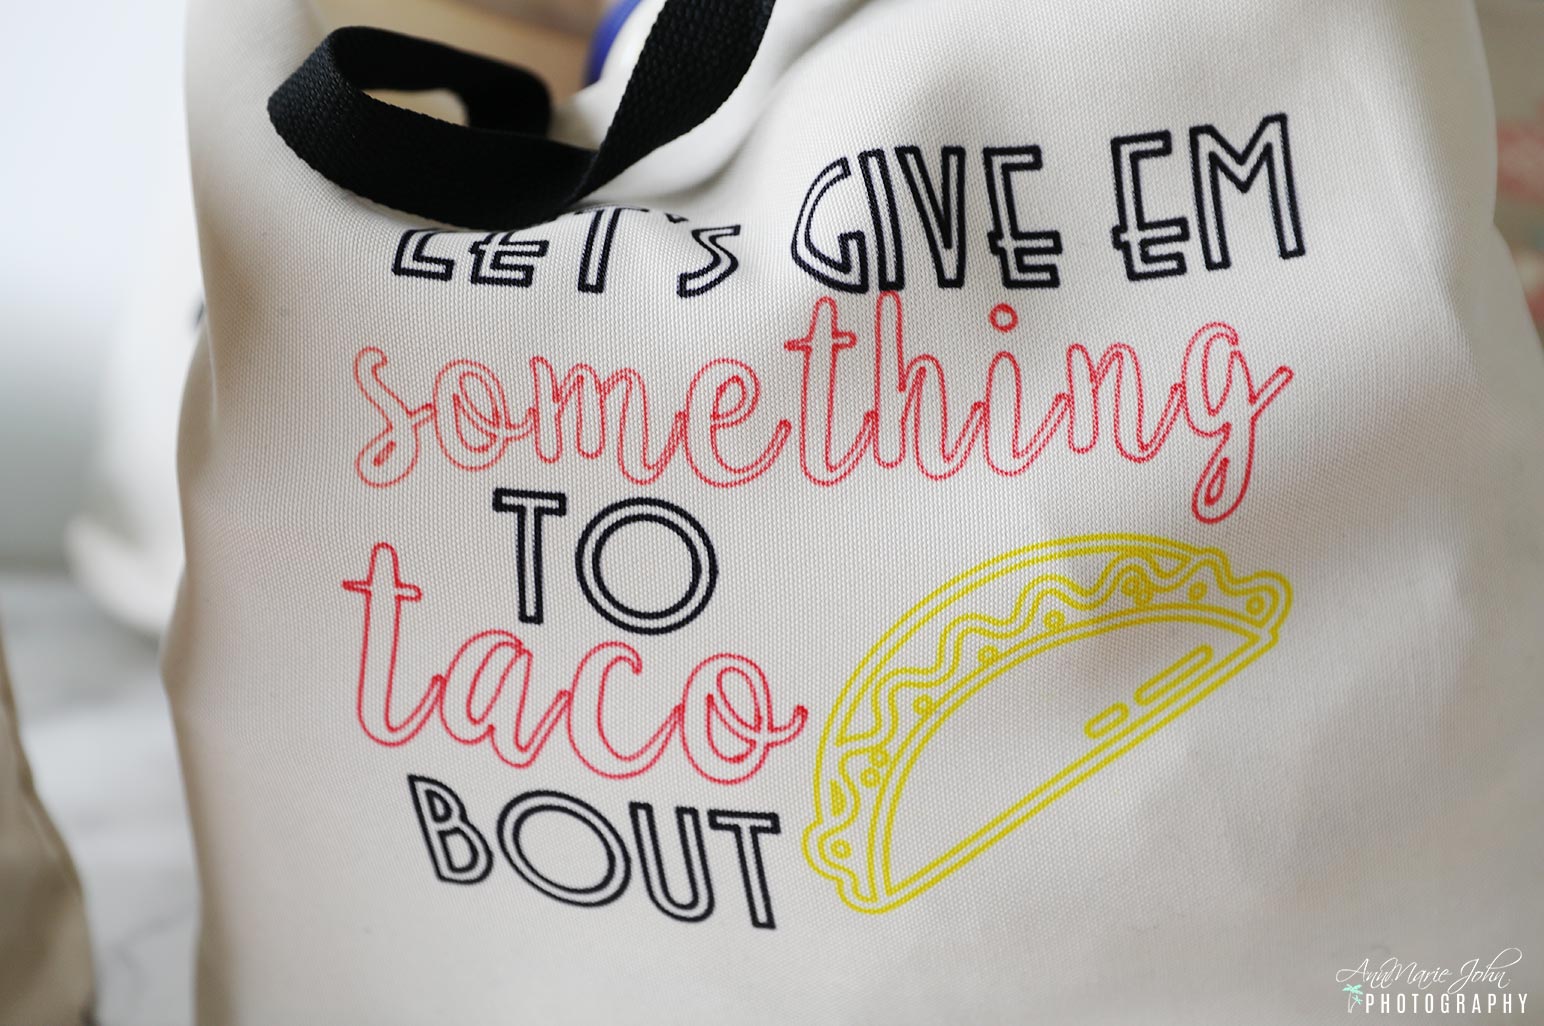
1. Open Cricut Design Space and start a new project. Choose the font and graphic that you want to use for your project. The possibilities are endless.

2. Since I was using the large totes (19″ x 14″) for my project I wanted my words to be big enough to fit across the bag, basically taking up as much space as possible to make it very noticeable.
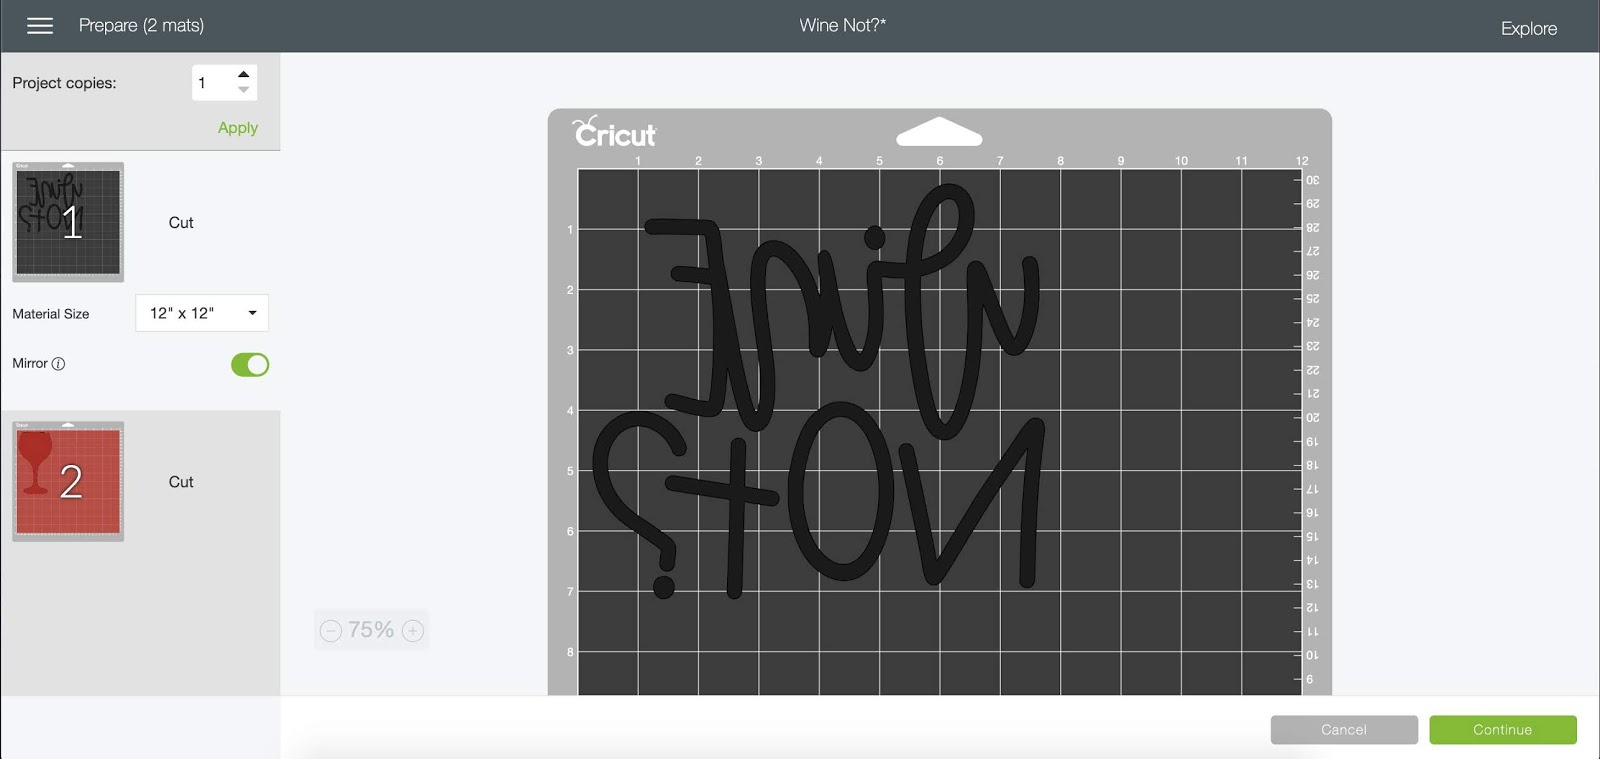
3. Once satisfied with your project, it’s time to create it.
4. To cut your infusible ink transfer sheets, you’ll need to turn your dial to custom and from the menu, choose infusible ink sheets. Place the sheet with the shiny side down and the pattern or colored side up and be sure to mirror your project.
(I’ve found that the Infusible Ink Transfer Sheets are a lot easier to weed than Vinyl. Simply roll your design until it crinkles then weed. You generally don’t need a weeding tool for this.
5. Prep your tote by using removing all lint with a lint roller. With your EasyPress at the right temperature, use the Cricut Heat Guide if unsure, lightly press your tote to remove all wrinkles.
6. Place your EasyPress Mat on the inside of your tote with white cardstock on top of the mat, this prevents the ink from transferring and ruining your mat.
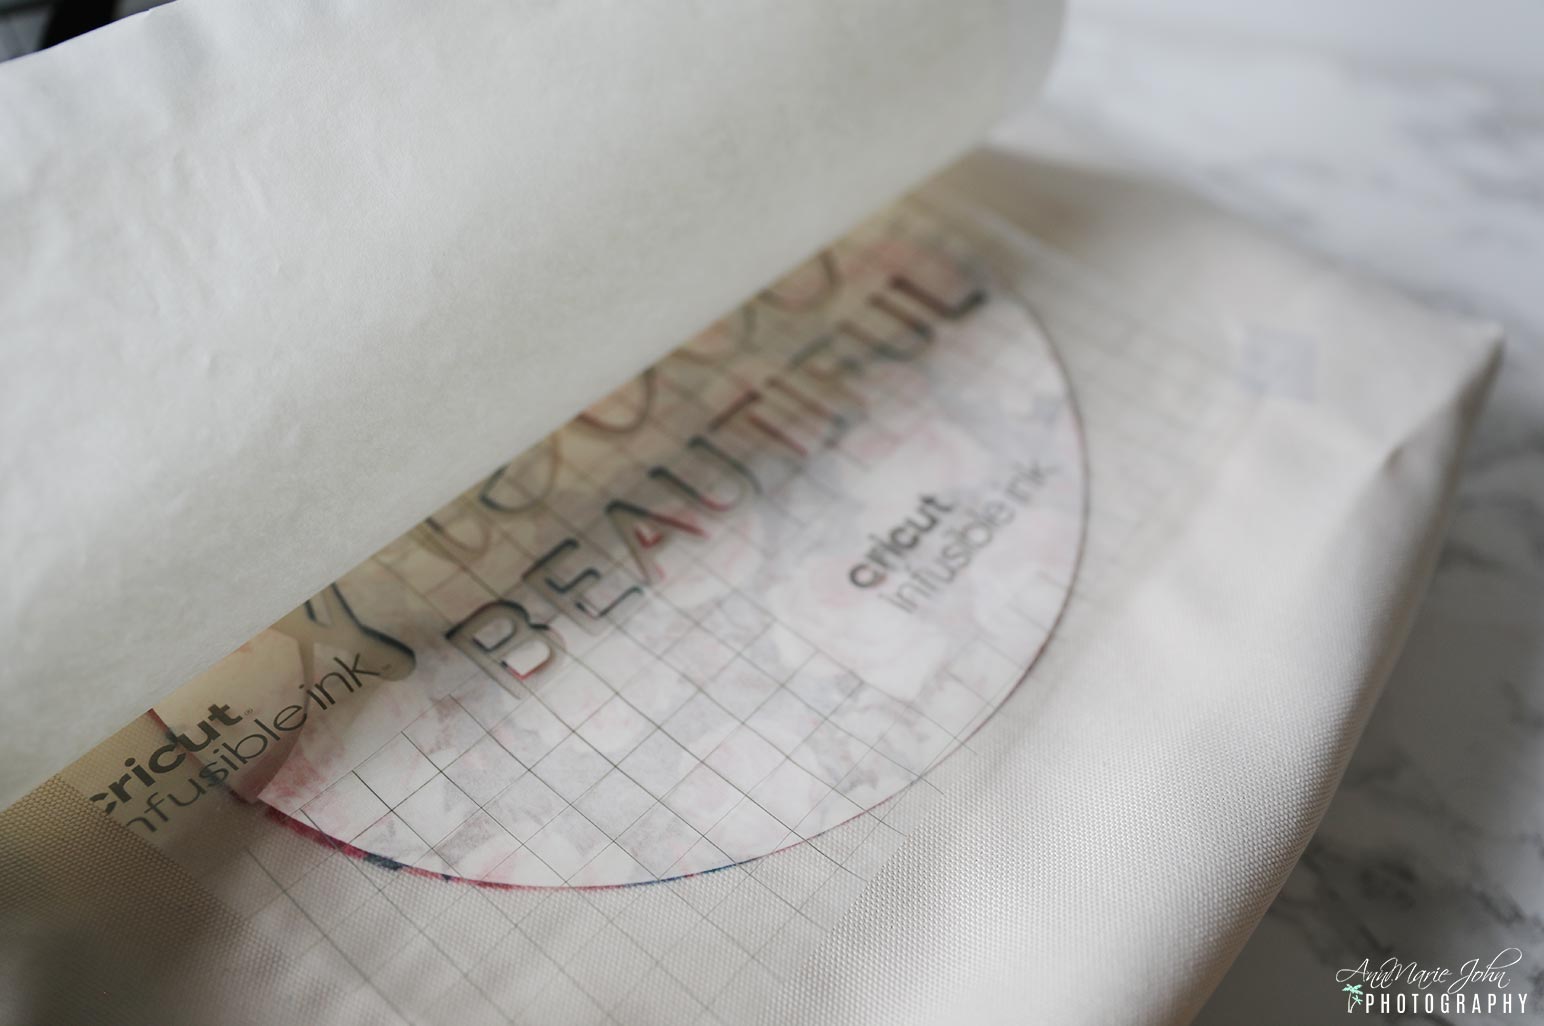
7. Place your Infusible Ink Transfer Sheet with your weeded design color side down on your tote, and tape in place with your heat resistant tape. Place the butcher paper over the design then press with your EasyPress making sure to cover the entire design with your press for 40 seconds.
8. Slowly remove your butcher paper and infusible ink transfer sheet once cool, and your design is finished.

Once your totes are finished it’s time to fill with food to take to your local food bank. While food banks are happy for any food donations, there are a few items that they need most such as:
Canned meat & chili
Canned vegetables
Canned fruit
Pasta sauce
Non-perishable snack items for children (i.e. granola bars, juice boxes, applesauce)
Macaroni & Cheese
Low-sugar cereals
Peanut Butter
Instant Oatmeal
Toothbrush & toothpaste
To find a food bank near you, visit feedingamerica.org.
Remember…
If you can’t feed a hundred people, then feed just one. – Mother Teresa
This is a sponsored conversation written by me on behalf of Cricut. The opinions and text are all mine.
