
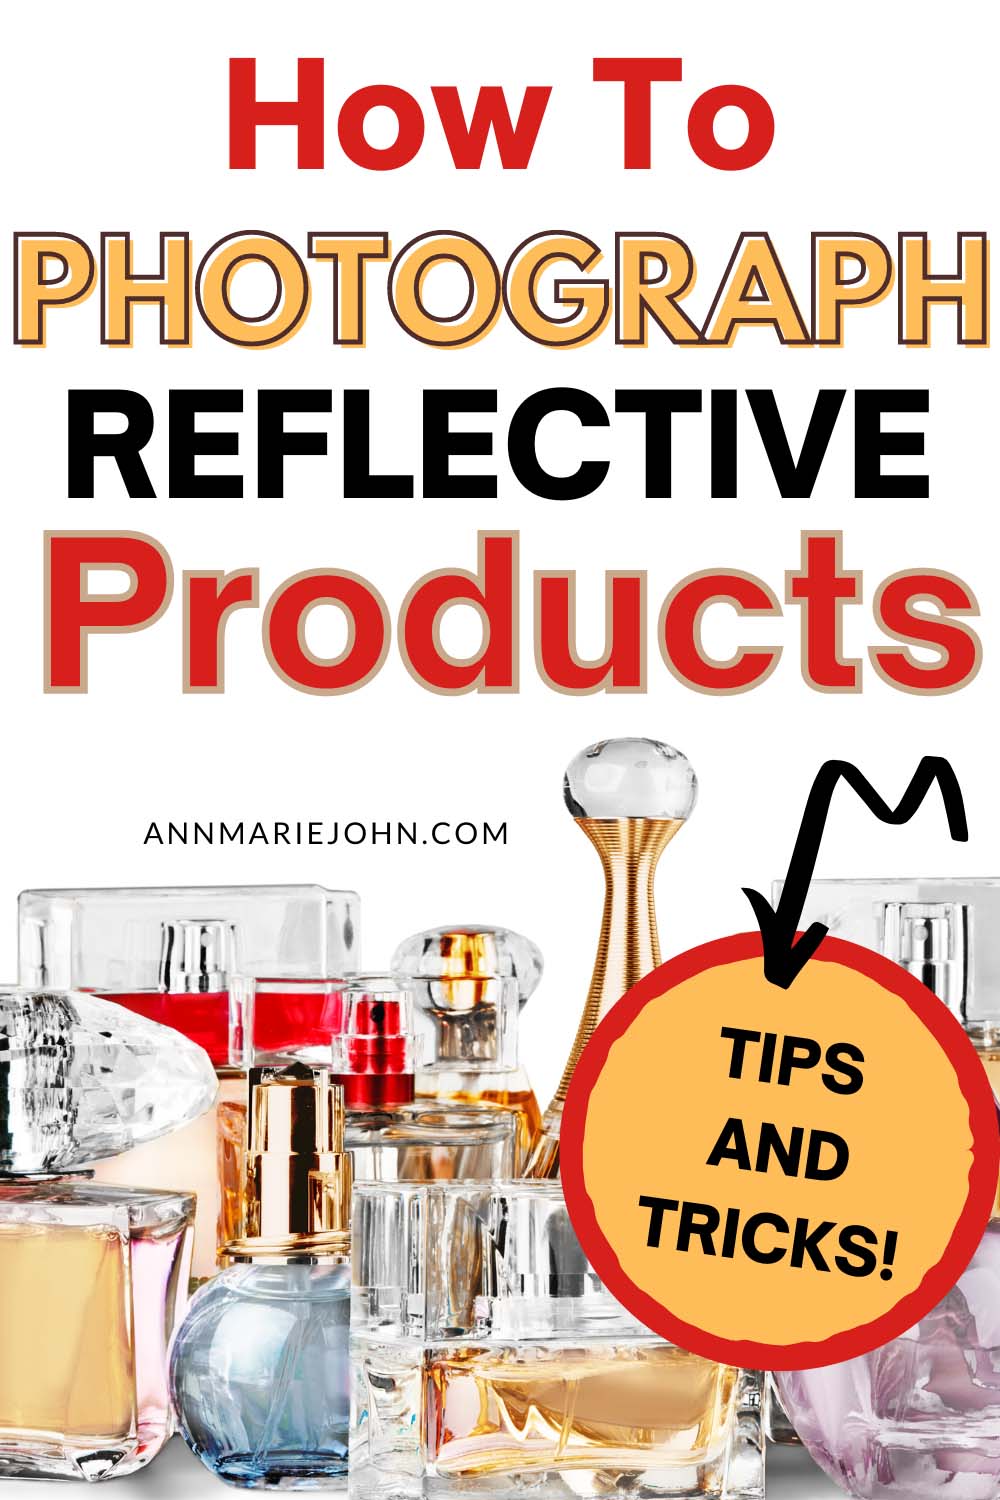
One of the most challenging aspects of product photography is shooting reflective products. Unlike photographing the usual non-shiny items, bringing out the details and making the product look realistic and dazzling is quite tricky.

If you’re trying to capture items like mirrors or picture frames, jewelry, glassware, or watches for your eCommerce store, you might have quite a hard time figuring out how to do it effectively. However, if you want to attract customers and increase your eCommerce sales, you need high-quality, professional product images—shine or no shine!
As a business, it’s imperative that your online store’s images are a reflection (excuse the pun) of what the product is actually going to look like and that customers will not be turned off by distracting or unflattering images.
Fortunately, if you know how to use different methods to shape and control light and eliminate reflections or unbecoming distractions like light spots, it can be as easy as photographing non-reflective products.
That’s why I’m going to share the best camera and lighting setups and post-production tips to help you improve your product photography and boost your sales.
Reflective Photography Made Simple
There are four major keys to understanding reflective product photography:
- Camera Setup
- Lighting setup
- Studio setup
- Post-production editing
But before I dive into that, let’s first get an understanding of what you want to achieve with non-reflective product photography.
Aims Of Reflective Product Photography
When photographing reflective products, you want to achieve the following:
- Managing reflections in lenses. This essentially means avoiding seeing yourself, the camera, or other reflections in the mirroring product.
- Soft shadows. As hard shadows can detract from the appearance of your products, you’re going to want to achieve even lighting with softer shadows. This lighting will make your products look more appealing.
- Crisp images. Blurry images are unflattering and lack professionalism. You’re going to want to ensure your images are crisp, where logos, edges, and details are all present and in focus.
- True-to-life color. When customers browse your online store, they’ll often imagine your products in their lives. This may mean wearing them, displaying them in their homes, or using them for whatever practical purpose they fulfill. You must ensure that you capture the exact color of the product so customers are not disappointed upon receiving the item.
Now that you have an understanding of why non-reflective product photography is important, let’s dive into our first point.
1. Camera Setup
The lifeblood of product photography is a good digital camera and a macro lens. A lot of businesses consider using an iPhone, but you cannot capture those tiny, sharp details using a smartphone.
Your eCommerce business will greatly benefit from investing in a good digital camera brand with a macro lens in the range of 50 to 105mm.
As for the settings to use on your camera, depending on the lighting you plan to use, you should adjust your white balance. If you’re new to digital cameras, then it’s best that you use the automatic white balance setting.
It’s beneficial for you to shoot in manual mode so you have full control over focus and other elements of product photography. To capture crisp, clean images, I recommend setting your aperture between f/11 and f/16 and using the lowest settings possible for the ISO setting, as this helps capture minute details.
Use light meters to detect overexposure or under-exposure if you’re going to use constant lighting in your reflective product photography.
2. Lighting Setup
When using the usual product photography lighting for reflective products, it tends to work as a mirror. Meaning that if the source of light comes from the same direction as your camera, it can result in mirror-light highlights and blown-out spots with no texture.
Stick with the basic principles of lighting. When projecting light onto a flat reflective surface, the angle of incidence will be that of the angle of reflection, as per the law of reflection.
As a rule of thumb, when photographing reflective products, your flash and camera should never face the same direction. It’s better to use studio lights instead. Softboxes work well with smaller objects, and umbrella lights with diffuser elements work well with larger products.
3. Studio Setup
The setups explained above are included in your studio setup, along with a couple of additional items:
- Tripod
Depending on the types of shots you are looking for, you may want to use a tripod to maintain stability and consistency. If you’re shooting for an eCommerce website, it’s very different from taking images in the real world. Time is on your side, and you can set up a shot that’s not subject to composition change unless you choose to change it.
- Stands
Stands should support your lighting equipment when taking photographs of reflective products. It’s a good idea to have at least one stand with a boom arm to easily position your lighting.
- Softboxes
As a rule of thumb, you should have at least one softbox (light modifier) that is approximately 32”.
- Background
An important part of product photography is the background. It needs to enhance the product and not allow for any reflections, either.
You can mitigate added shine by shooting against a flat color like black or white, or you may prefer to use background removal techniques in post-production and add a completely different background. The background you choose very much depends on your product—you need to choose one that showcases your reflective item in the best possible way.
4. Post-Production
Background removal and product image retouching are the two most common edits when shooting reflective products.
Sadly, even with the very best camera and settings, you can’t have it all. Especially when you’re photographing items with a shine.
Common issues with reflective product photography are an unwanted glossy effect, a few missed details, camera reflection, background reflection, or not enough exposure. But in post-production, you can fix some or all of these issues quite easily.
Shoot That Shine
If you’re still learning the art of product photography, the trick is to keep practicing. Taking photos of reflective products may not be as easy as shooting those with no shine, but if you combine these tips, you should be able to get great shots.
And what you don’t get right in your shot, you can fix in post.
