
These easy-to-decorate dollar store candles will brighten any room in your home.
Today’s post is about a craft that Madison and I did just for fun, but it was so easy to do that I decided to share it with you.
How many of you are as in love with the dollar store as I am? You can actually find me there a few times a month. In order to satisfy my crafting habit, I can’t always shop at Michaels. Sure, Michaels taunts and tempts me, but sometimes the price tag can be a little out of my range. You know the saying, “Sometimes it’s cheaper to make it than buy it” but sometimes it really isn’t. That’s where my dollar store comes in.
Sure, there are a few hit-and-miss items, but most of the time I strike crafting gold. Some of the items I almost always pick up are their candles, tissue paper, and supplies for photography props. You really can’t go wrong with a dollar. Madison has been sick for almost a week, and with this being spring break, I needed to keep her entertained. Road trips sometimes aren’t enough. I already had a few items at home that I had picked up previously from a trip to my local dollar store, and I just had to figure out what I wanted to do. What can I do with tissue paper and candles? Granted, these candles were purchased to be melted down to do another project, but this decorative idea was so much better. Best of all, this project will cost you less than $5.
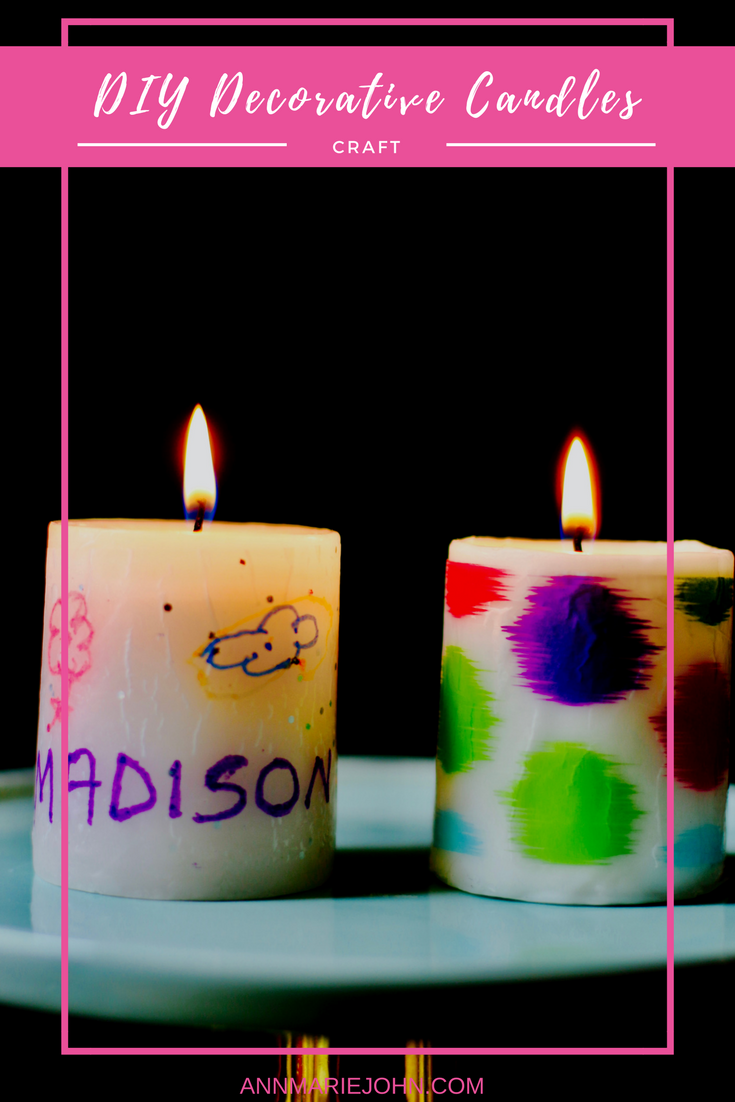
DIY Decorative Dollar Store Candles
Supplies Needed:
Candles
Colorful tissue paper (you can get a pack of 20 at the dollar store)
Blow dryer
Clear tape
Wax Paper

Directions:
(Hopefully you don’t need photographic directions because I didn’t think of taking any at the time. As a matter of fact, my supplies photo was taken AFTER we had already done a few. It’s however, super easy so I think you’ll be fine.)
Step 1. Cut a piece of the tissue paper to the width of your candle. You can even cut it a bit longer to have it overlap a little.
Step 2. Use a small piece of the clear tape and fasten the ends of the tissue paper to the candle.
Step 3. Wrap your wax paper around the candle with the tissue paper, and with your blow dryer on low heat, or high if you can stand the heat, move it in a back and forth motion to slowly melt the paper into the candle.
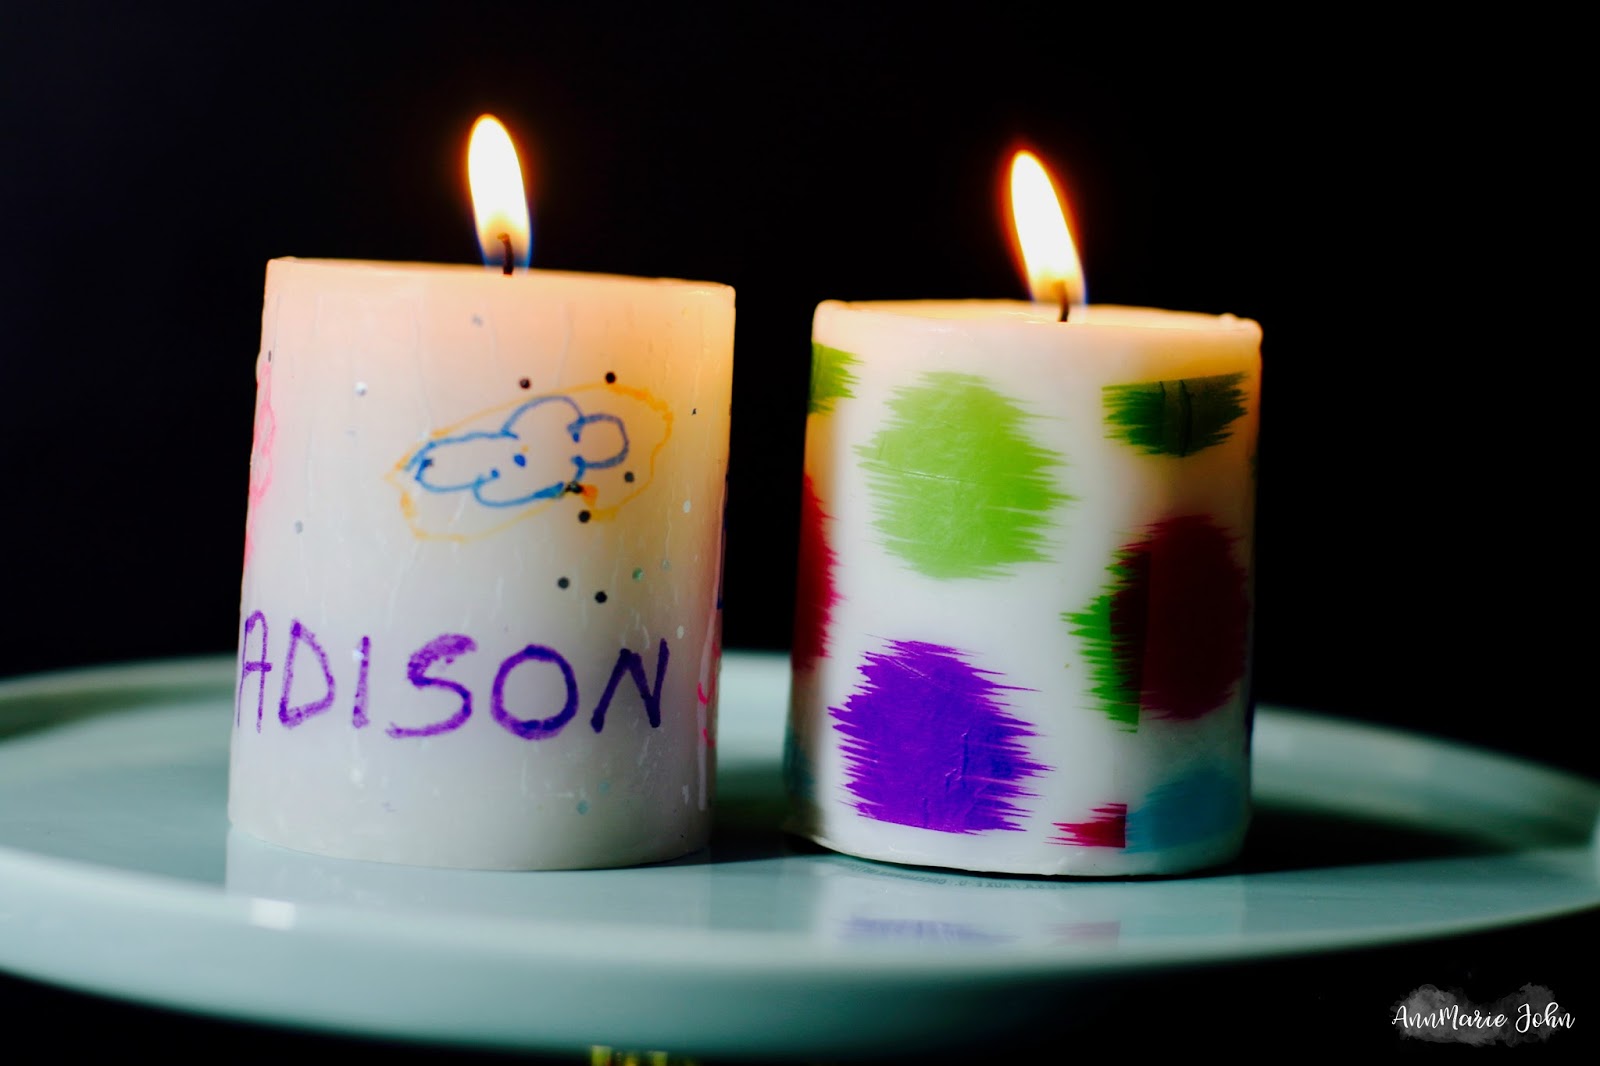
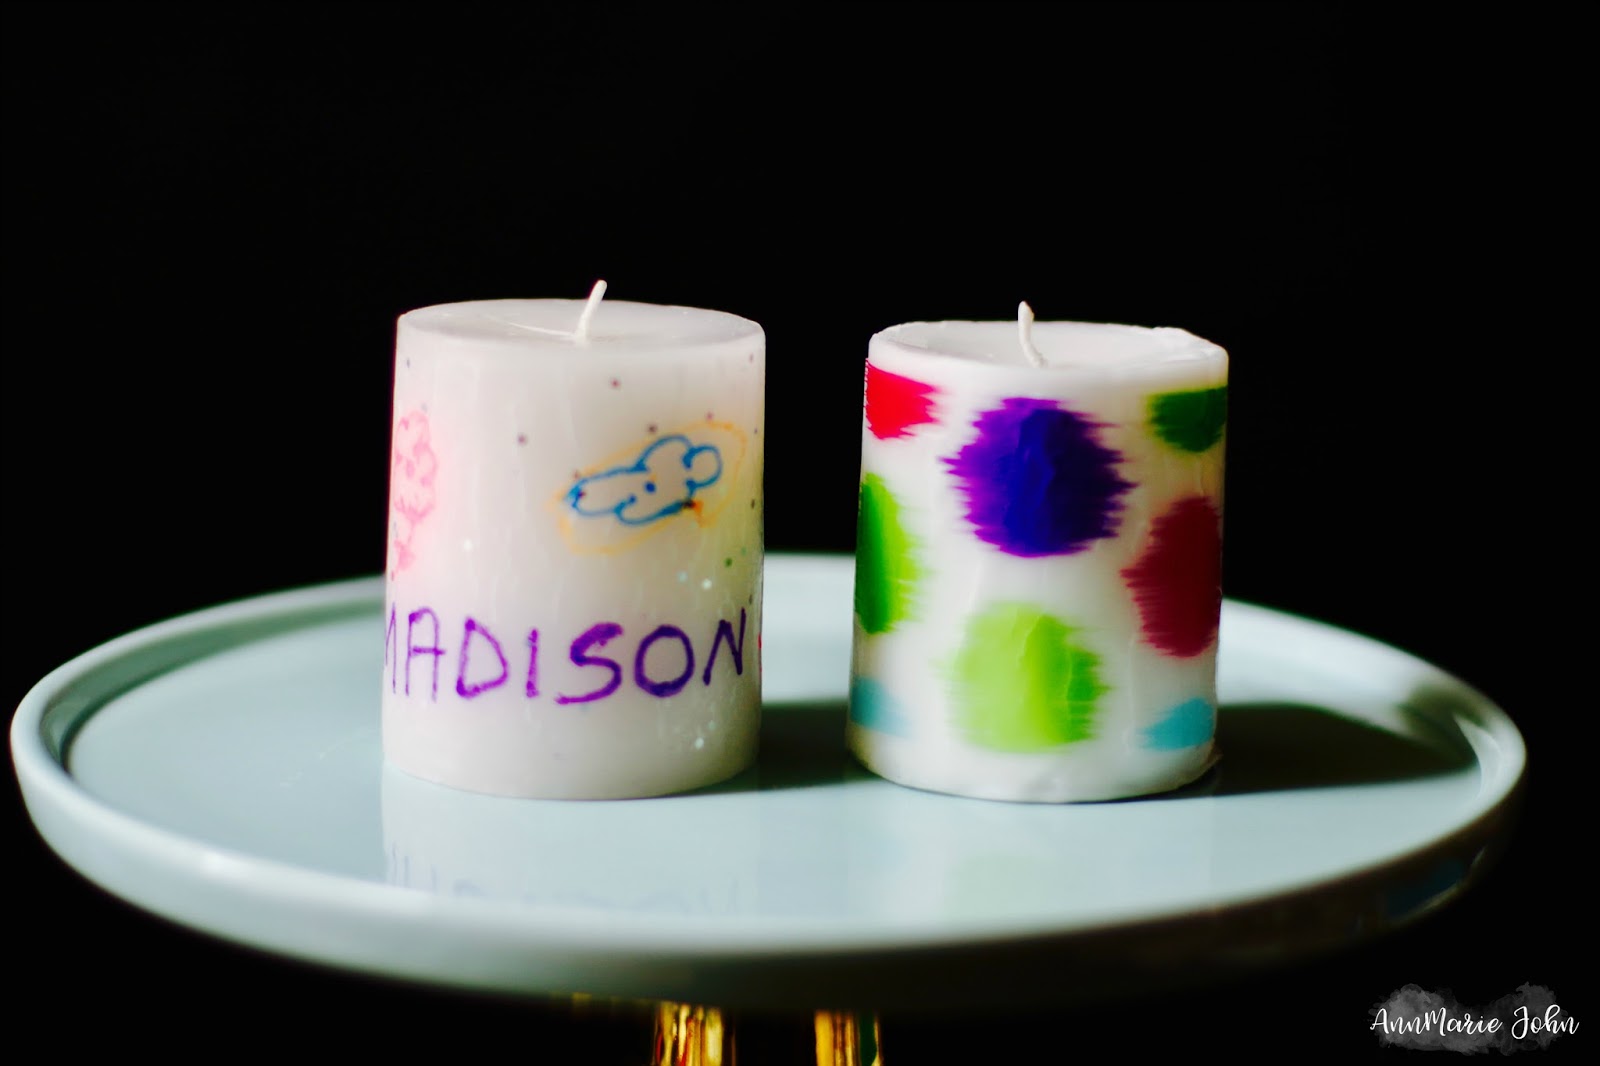
Now to make this fun, you can have the kids draw whatever their heart desires on their candle and personalized it. Think fun gifts for the grandparents and Mother’s Day is fast approaching as well. Madison drew a “house with trees and clouds” on hers, and I wrote her name on the bottom. Madison thought that the one she made was beautiful and I have to agree.
She had so much fun doing it and we shared some quality mommy-daughter time together. Since this is homemade, don’t expect it to be perfect, and don’t beat yourself up if it doesn’t turn out the way you want it to. You should have seen the first one I made. However, it’s our imperfections which make us beautiful and no matter how it turns out, you tried and that’s all that counts.

So keep that light shining!
(Note: We burned these candles, and since they burned in on themselves, they were fine to be lit. However, you may just want to keep them as decor, especially if the kids want to display their artwork.)
